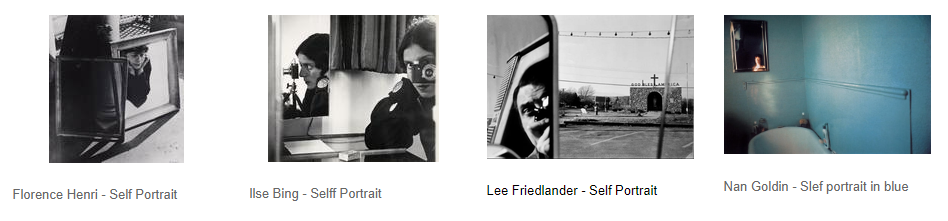
Representations of a person
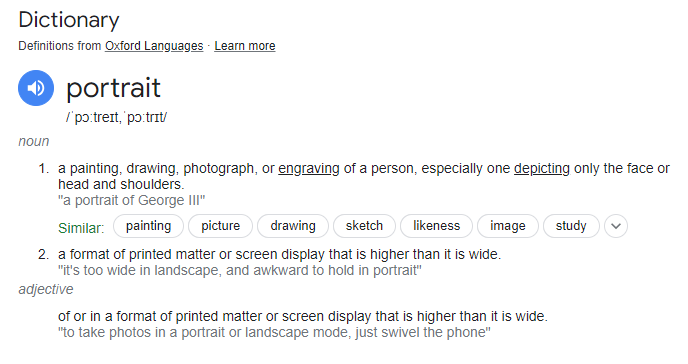
What is a portrait?
The selfie
The current obsession with photographic self-portraits - The Selfie - can be traced back to the origins of photography. One of the first things photographers did when they learned how to fix light on a surface was to turn their rudimentary cameras on themselves. The earliest known example comes from 1839, the same year that Louis Daguerre patented the 'invention' of photography as a commercially viable process. Since then, the self-portrait, genre inherited from painting, has become a staple form of photographic image making.
Robert Cornelius
|
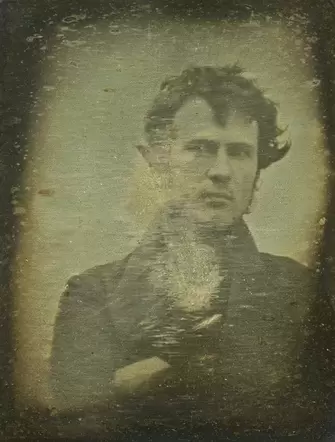
Robert Cornelius, an American photographer and a trailblazer in the history of photography, is renowned for his 1839 daguerreotype self-portrait, which is widely acknowledged as the earliest photographic portrait of a person in the United States. From 1840 to 1842, he ran some of the earliest photography studios in the country, introducing innovative methods to notably shorten the exposure time necessary for capturing portraits.
In addition to his photographic pursuits, Cornelius was a versatile figure, embracing roles as an inventor, entrepreneur, and lamp manufacturer. In 1843, he invented and patented the "solar lamp," a remarkable innovation that emitted brighter light and allowed for the use of more cost-effective lard as a fuel source, replacing the previously expensive whale oil. |
Selfie experiment #1
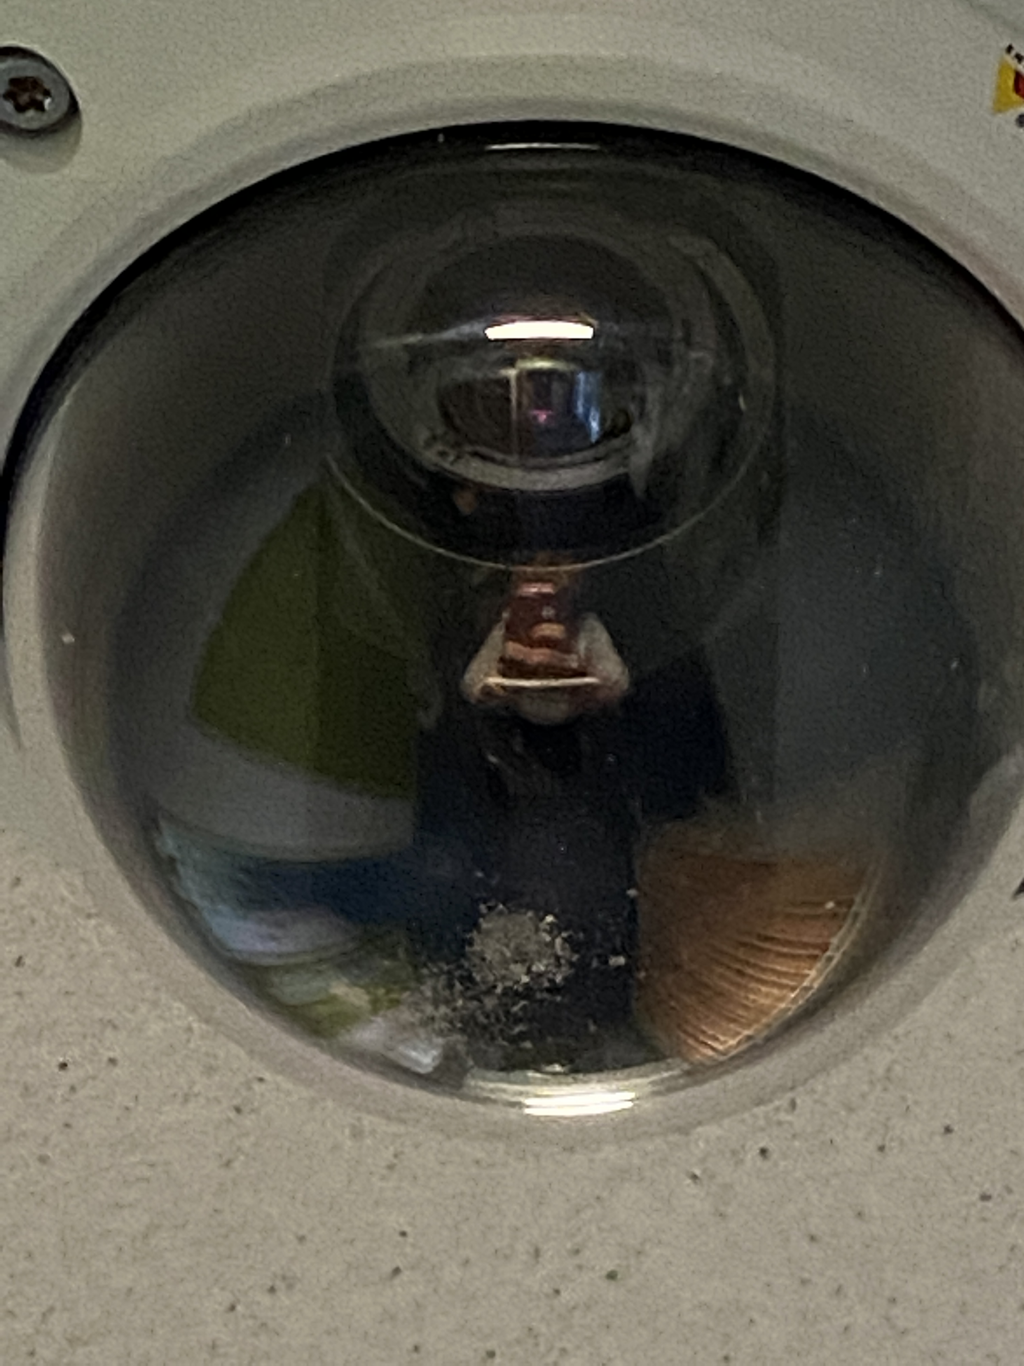
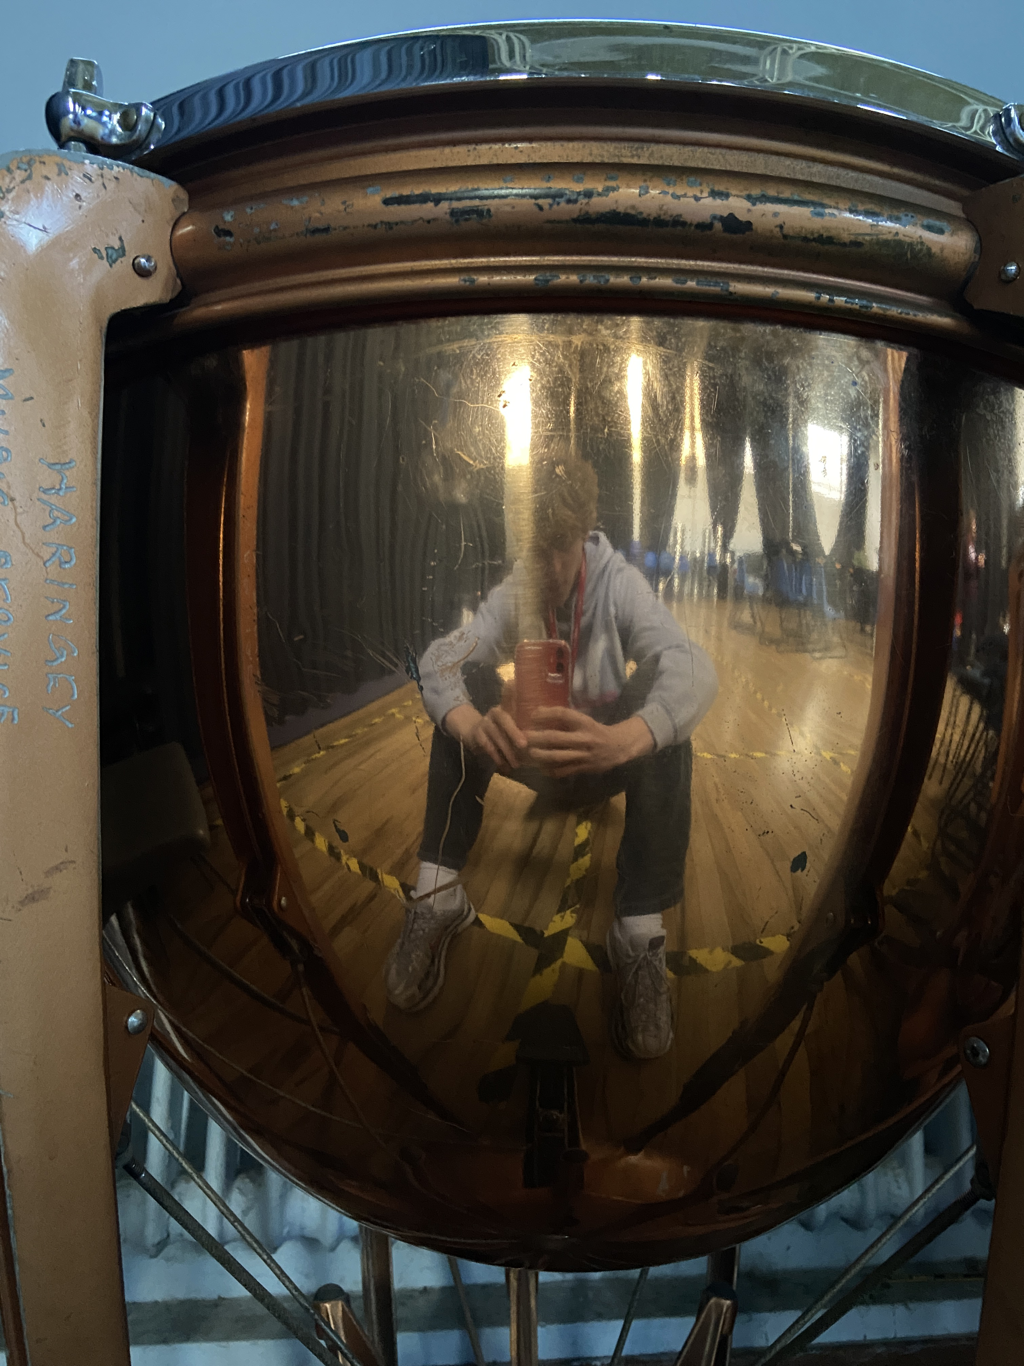
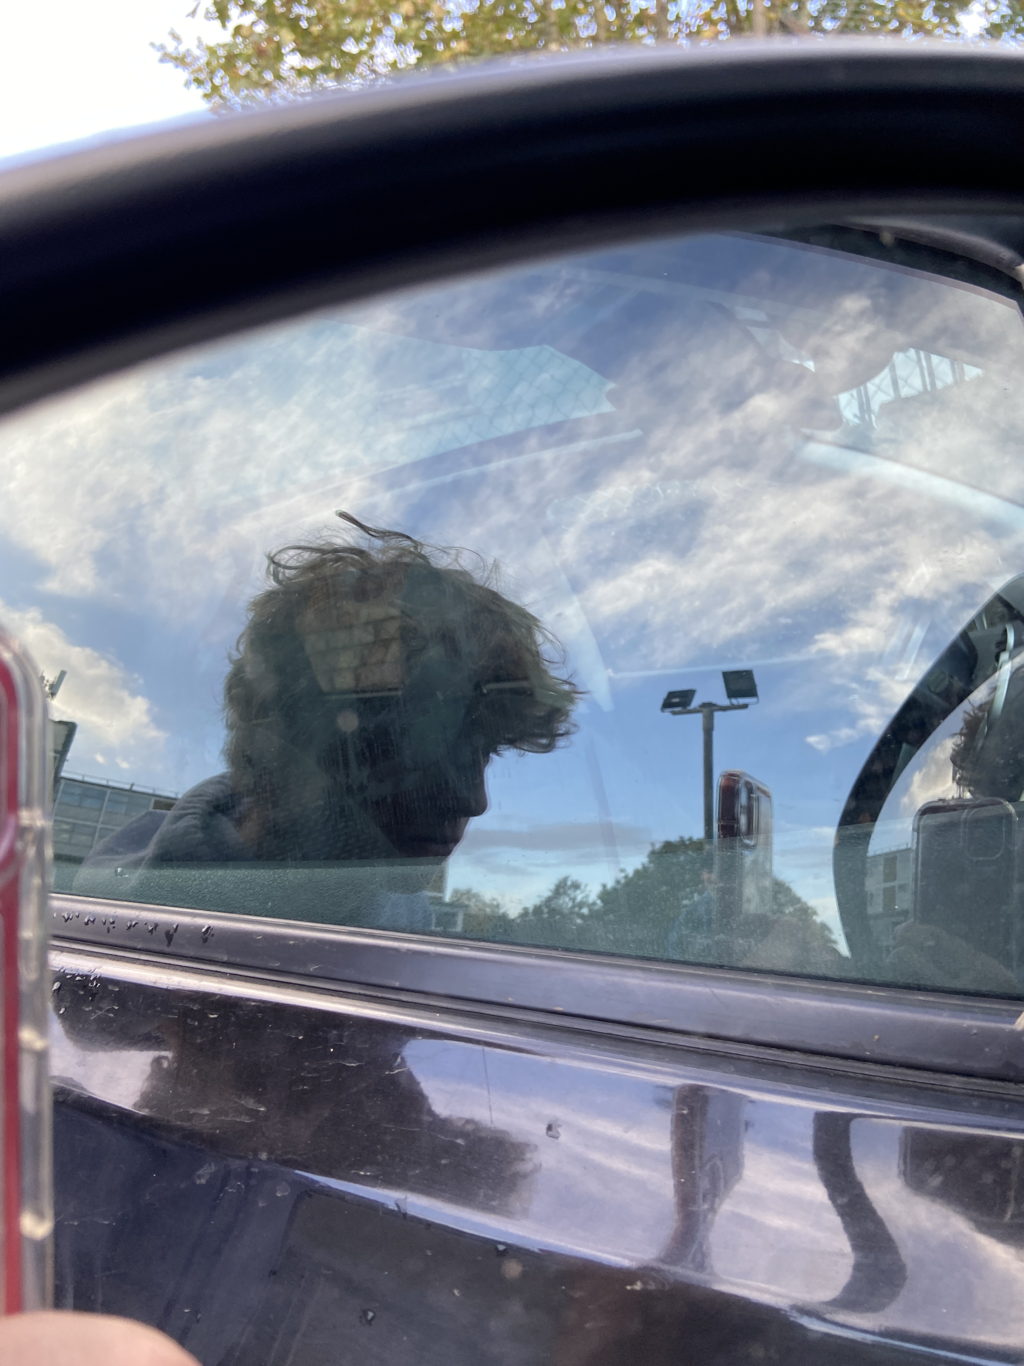
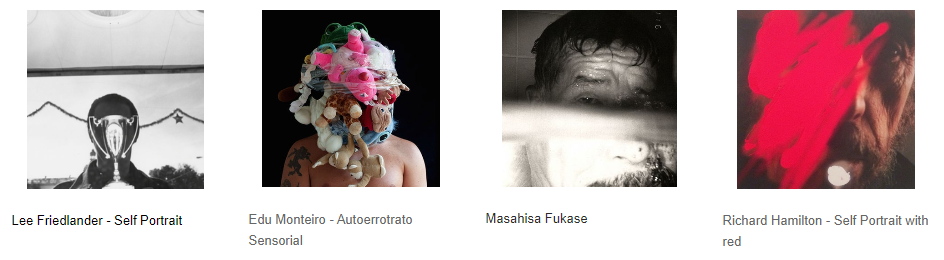
Lee Friedlander
Lee Friedlander (born July 14, 1934) is an American photographer and artist. In the 1960s and 1970s, Friedlander evolved an influential and often imitated visual language of urban "social landscape," with many of his photographs including fragments of store-front reflections, structures framed by fences, posters and street signs. His work is characterized by its innovative use of framing and reflection, often using the natural environment or architectural elements to frame his subjects. Over the course of his career, Friedlander has been the recipient of numerous awards and his work has been exhibited in major museums and galleries worldwide.


Best 3
|
|
|
Selfie experiment #2
Edu Monteiro
Edu Monteiro is a photographer and visual artist. He has been working with photography since 1991, specializing in contemporary research, with emphasis on the intersections between photography and performance. Monteiro was born in 1972 in Porto Alegre, Brazil, and currently lives and works in Rio de Janeiro.


Best 3

|
|
|
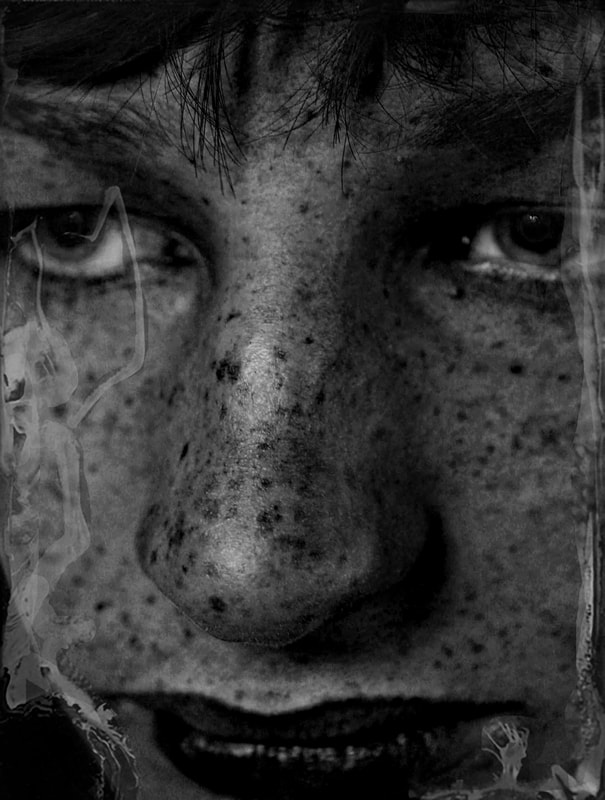
Character recognition
Myra Green
Myra Greene, an American artist, has engaged in numerous projects, predominantly within the realm of photography. These include Hairy Projects, The Beautiful Ones, Character Recognition, Self Portraits, My White Friends, and Sketches for Something. Through her creative endeavors, Greene stimulates contemplation on the unfortunate tendency to evaluate individuals based on their skin color and physical attributes rather than their inner qualities. Her thought-provoking collections, marked by introspection and a keen awareness of race-related issues, have been showcased in galleries and exhibitions throughout the nation, earning widespread acclaim in the media. Notably, her "My White Friends" collection was featured in a New York Times spotlight piece in 2012.


My attempt


These 8 photos where my attempt at recreating Myra Greens work was easier said then done. Although I was not doing the same photographic techniques I tried to accurately replicate the composition of her photos and capture the essence of what she was trying to get. One thing I did well I think was getting up close and getting the features and having the main feature of each photo the clear subject. One thing I think I could improve on is lowering the exposure so the photos are not so bright so it adds some more character to the photo.
Further Attempt
I then sent one of the photos of my subject and placed a black and white filter on it and started playing around with the reds the blues and the yellows to mimic the same result that Myra Green got when she took hers. Once I was happy with the result I got one of her previous images and placed it on another side and changes the hue and saturation down to 0 so that both images would be black and white. Then I dragged over my picture of the subject subsequently edited and placed it atop the Myra Green image and lined both of them up. Once the subject photo was above the Green photo obviously I wouldn't be able to see the Myra Green image so I changed the opacity temporarily to around 60% so I could see both details of each image. Then I added the impurity's of Myra Greens work into my own image by erasing the layer to reveal her image below. I had to blend these two together to get a seamless image which was very difficult. Once I was happy with the final product i saved to web devices and saved the image.
Lighting
What is lighting?
Light in photography refers to how the light source, natural or artificial and how the position of light source relates to your subject. The position and quality of light can affect any number of things in your final image, from clarity to tone to emotion and so much more.
Artificial
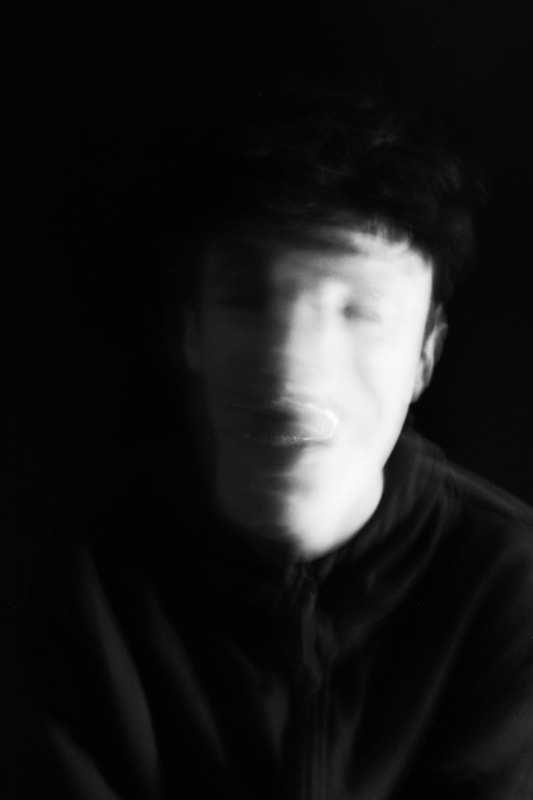
These shots where done in the dark room where we first had to change the shutter speed to a longer shutter speed so that in the darkness of the dark room the subject can still be seen cause more light is being let into the lens. Since it was a long shutter speed there was risk of motion blur so to eliminate this we used a tripod however the subject moving can till create motion blur - which sometimes turned out good. Here are the shots I got below and my favourites below that.


|
|
|
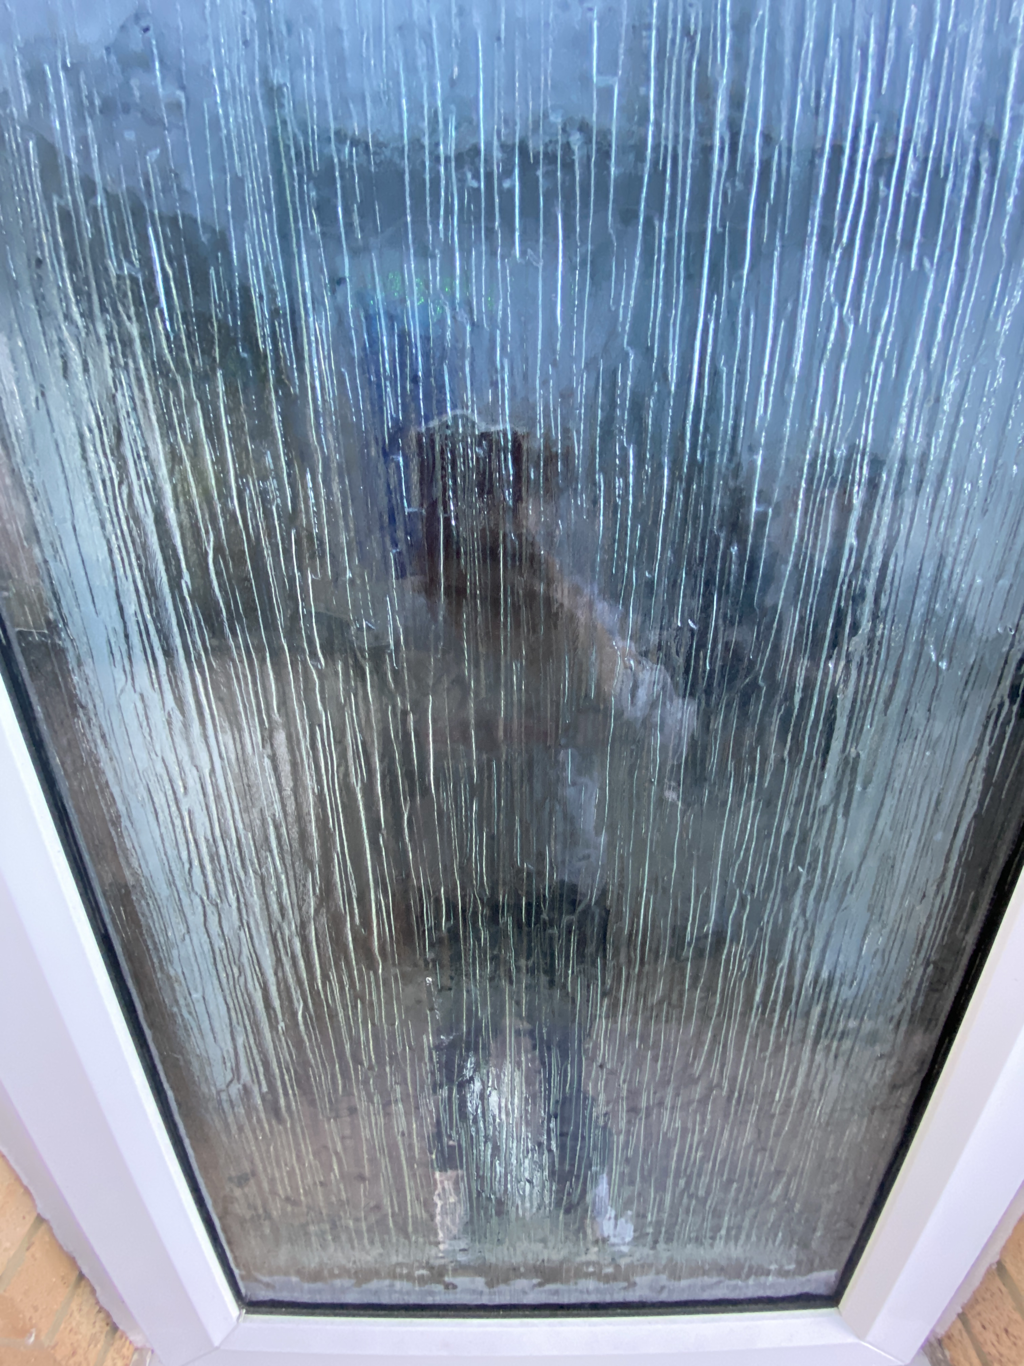
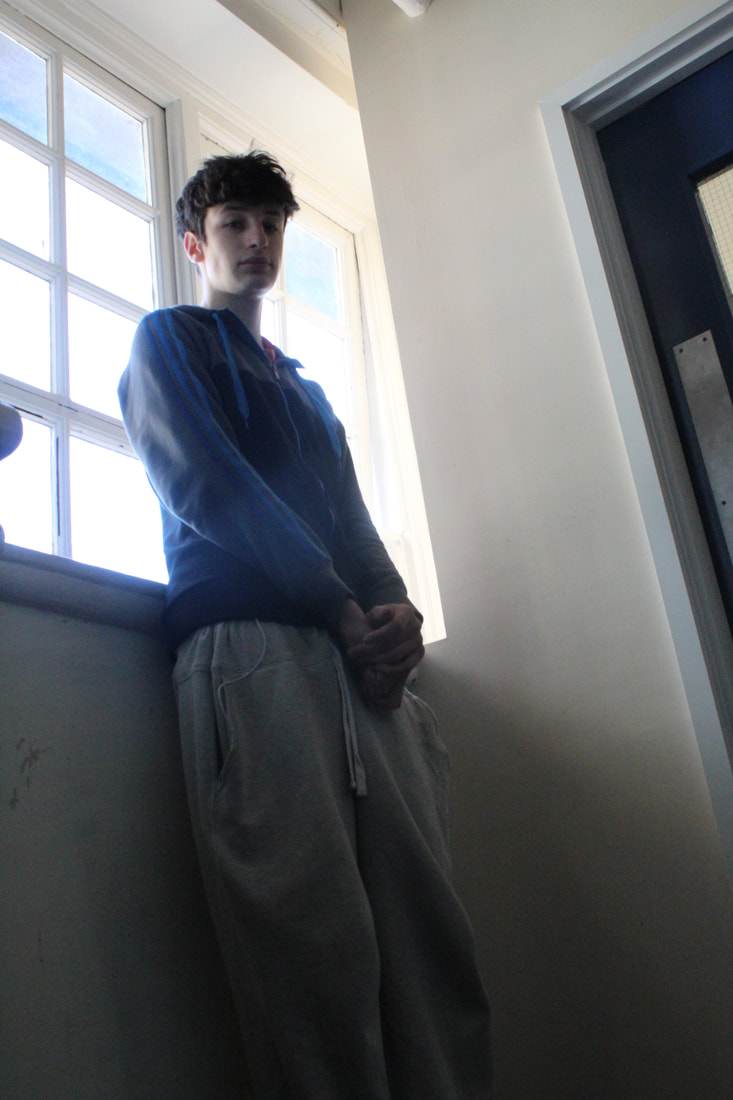
Silhouette
This section was done outside of a window with a lower ISO of about 200-400. I did several angles playing with the position of the subject sing composition rules like the rule of thirds and leading lines to make a more aesthetic photo. Here are all my attempts below and just below them are my favourite 2.


|
|
|
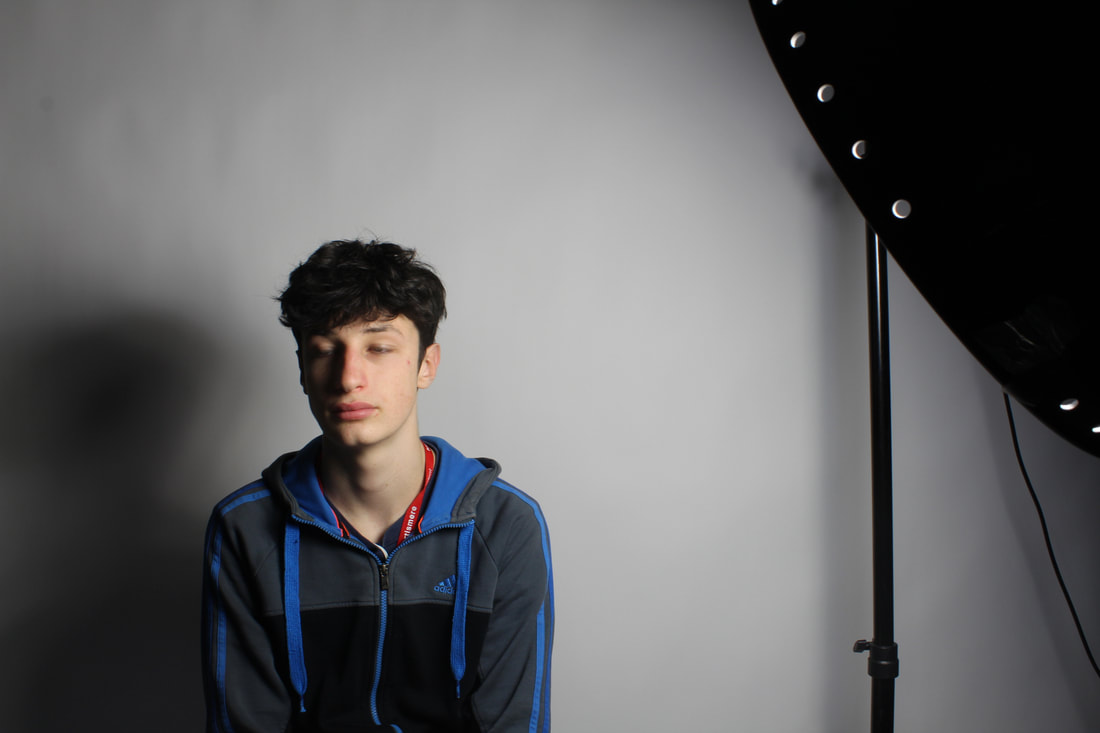
Studio Lighting
The Set Up
This was the set up for the studio lighting where we had three large lights all contributing in different ways. The one of the right was used as the main light, then the one on the left was a side light and the one on the top was a top lighting. The background was a large sheet of white paper and the subject was seated on a stool.

Main Lighting
First we turned of all the lights and left just the main light on. This created a harsh shadow on the left side of the subject and left the right side highly illuminated. I put the camera on manual mode and put the ISO on about 200-400 and the shutter speed pretty high at around 1/100-1/200. Here are the results below.


Side lighting
This part is now the side lighting and the main lighting. The camera setting also stayed the same. There is no longer a harsh shadow on the side of the face and the lighting has created an even amount of lighting all over. here are the results below.


Top Light
This section included all three different types of lighting. The top lighting added affects of highlighting to the top of the subject and created nice shadows downwards. The camera setting altered slightly to a higher shutter speed as the more light there was the more blown out the shit was and so the higher shutter speed allowed less light to get into the camera and create a more dense photo with mood. Here are the results


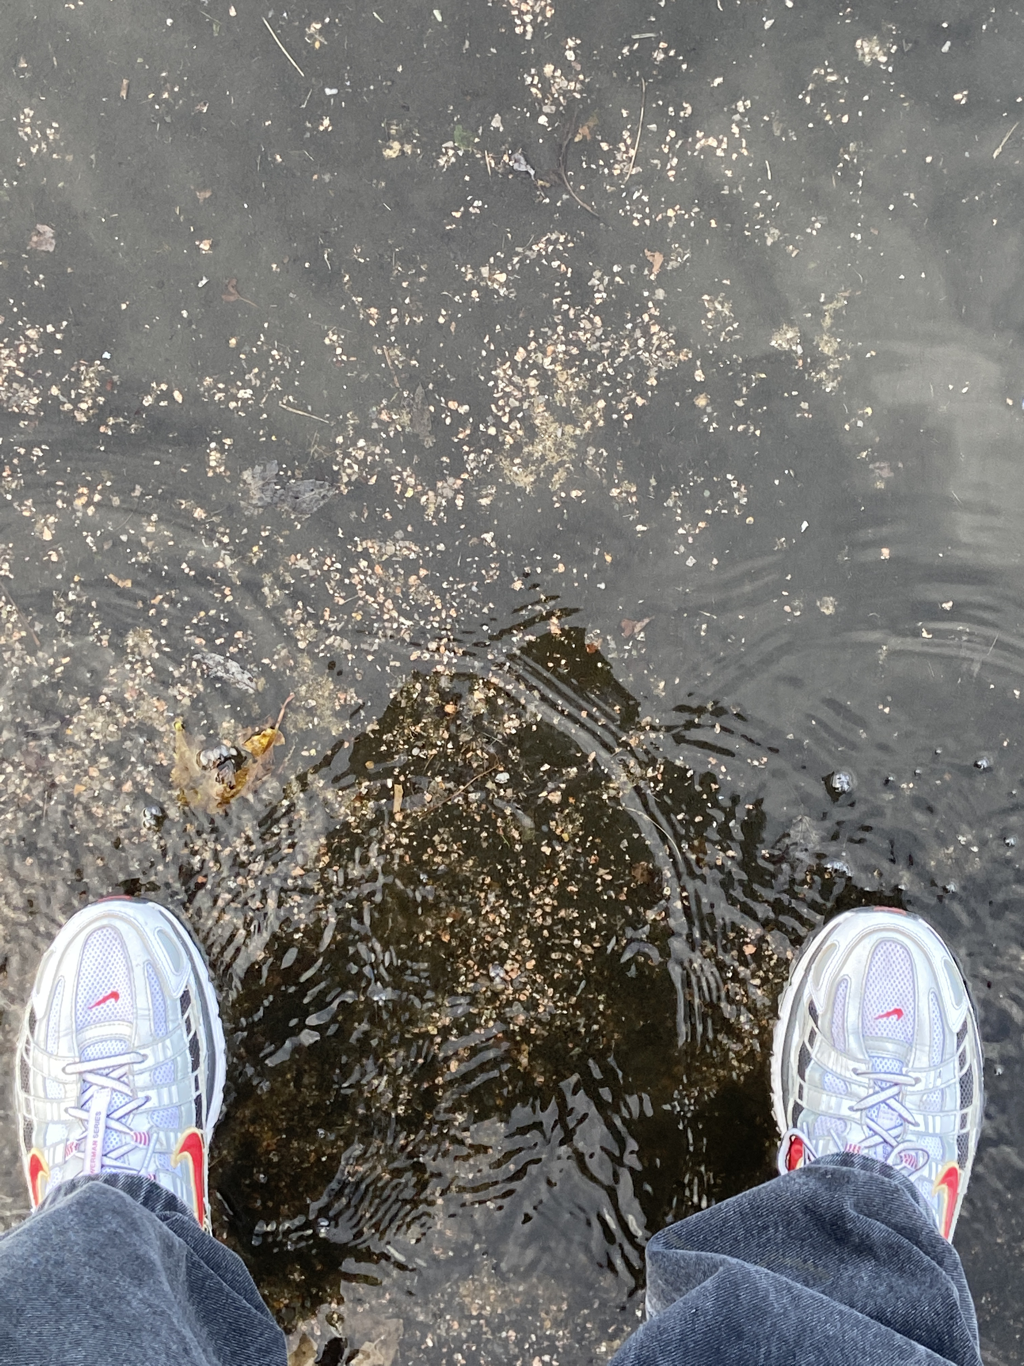
Natural
For the natural lighting it was pretty briht outside so i changed the shutter speed to a very high speed and changed the ISO as well. The results where quite dark and photos which i liked and it emphasised where the light hits the subject and where the shadows form. Here are my results below.


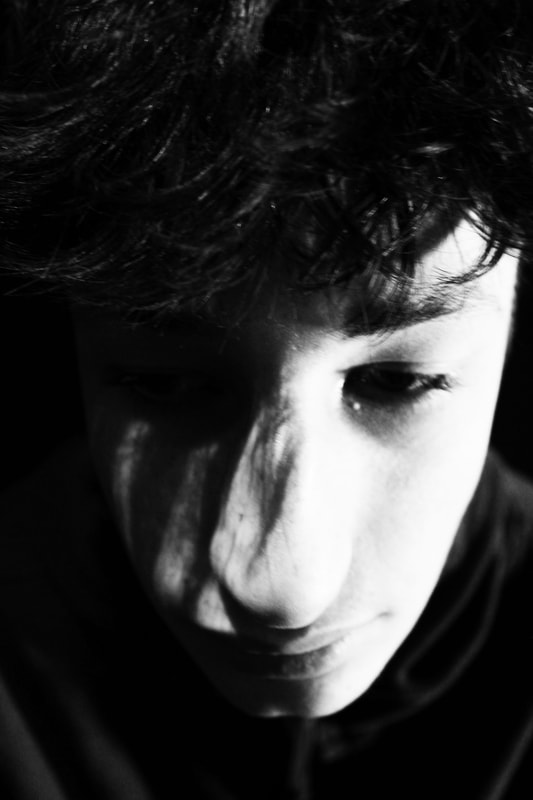
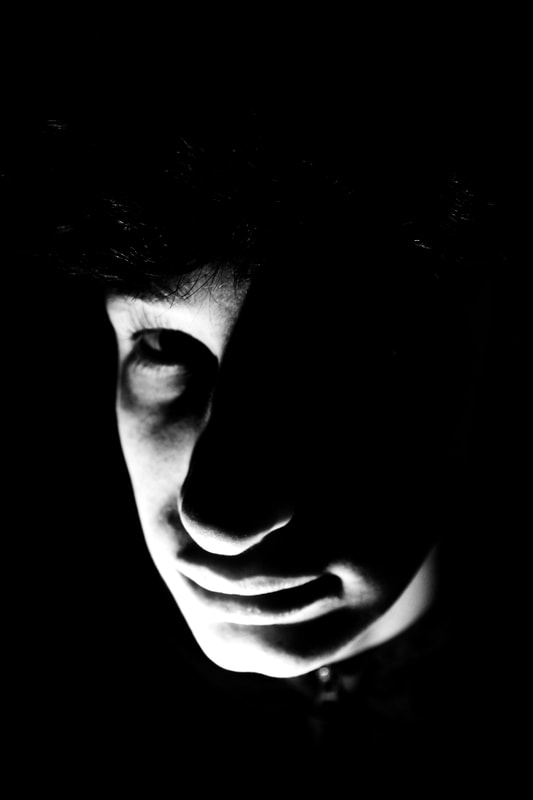
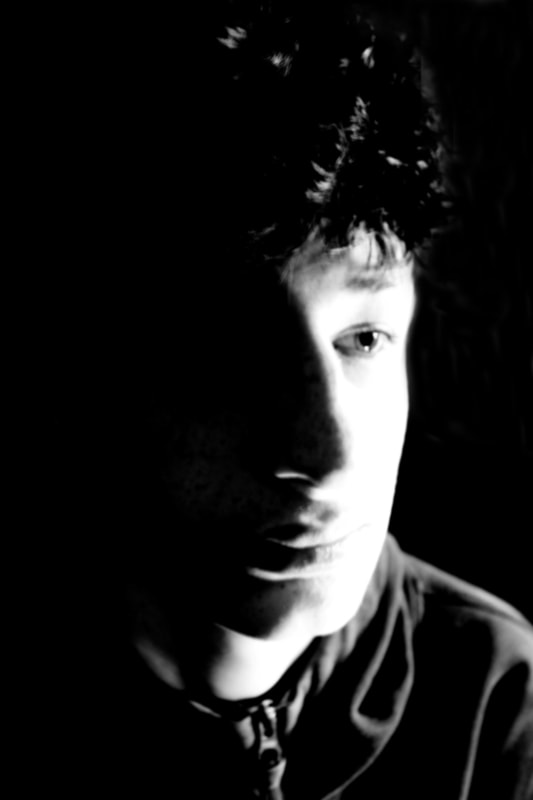
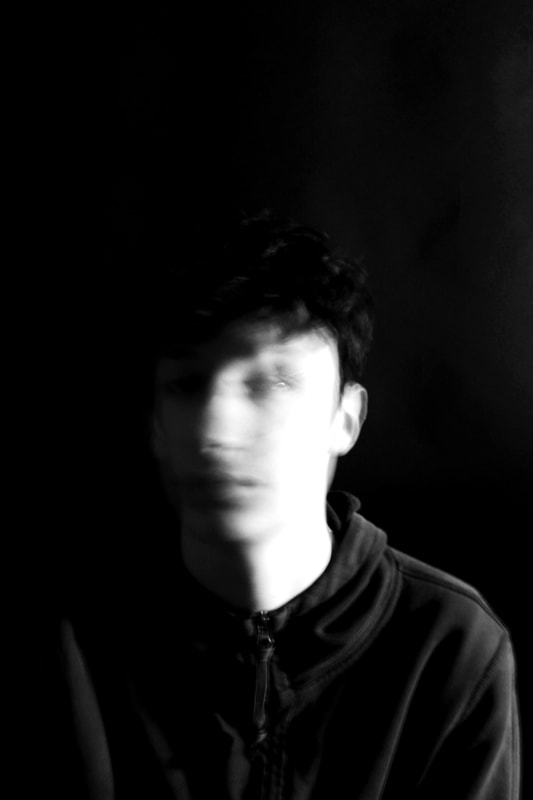
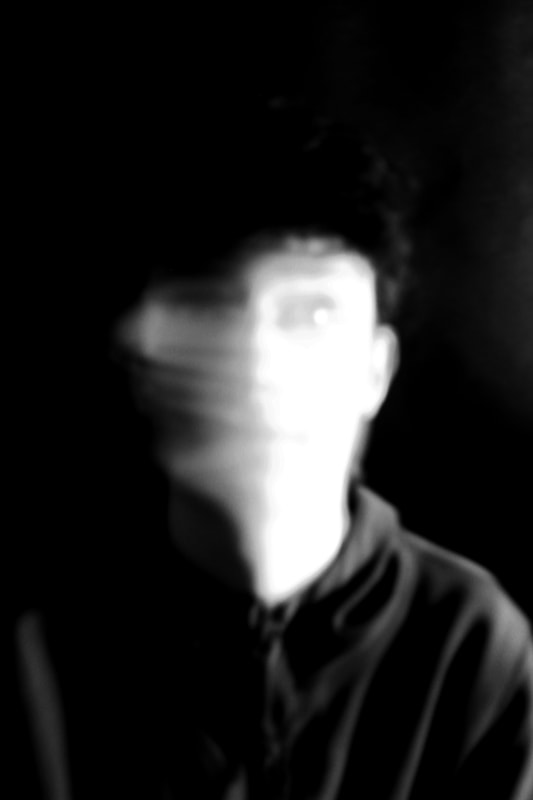
Light & Shadow
Valerie Kabis
Valerie Kabis - Is interested in how shapes are created by limiting light. By experimenting with light, shadow and variations in focus, Kabis creates a series of dark and thought provoking images.


Task 1 : Digital
Using Kabis inspiration I placed a strong dark background behind my subject and turned on the main studio light to the side of my subject to create a harsh shadow. Once he was in position I set my camera to auto focus - however I would drift in and out of auto and manual to get a range of shots. Moreover, I set my ISO to 400 and changed the shutter speed continuously getting some movement shots and some sharp and clear ones , something that was inspired by Kabis. The shutter speeds varied from 1/100 to 1/2.


Photoshop Steps
First I opened the image up in Photoshop and then went straight to hue and saturation and placed the saturation all the way to 0. Next I wen over to brightness and contrast and played around with the contrast to minus the grey areas and leave me with a clean a and harsh contrast of black to white. Then u went over to levels to get my final touch ups.
Final Photographs
|
|
|
|
|
|
Task 2: Analogue
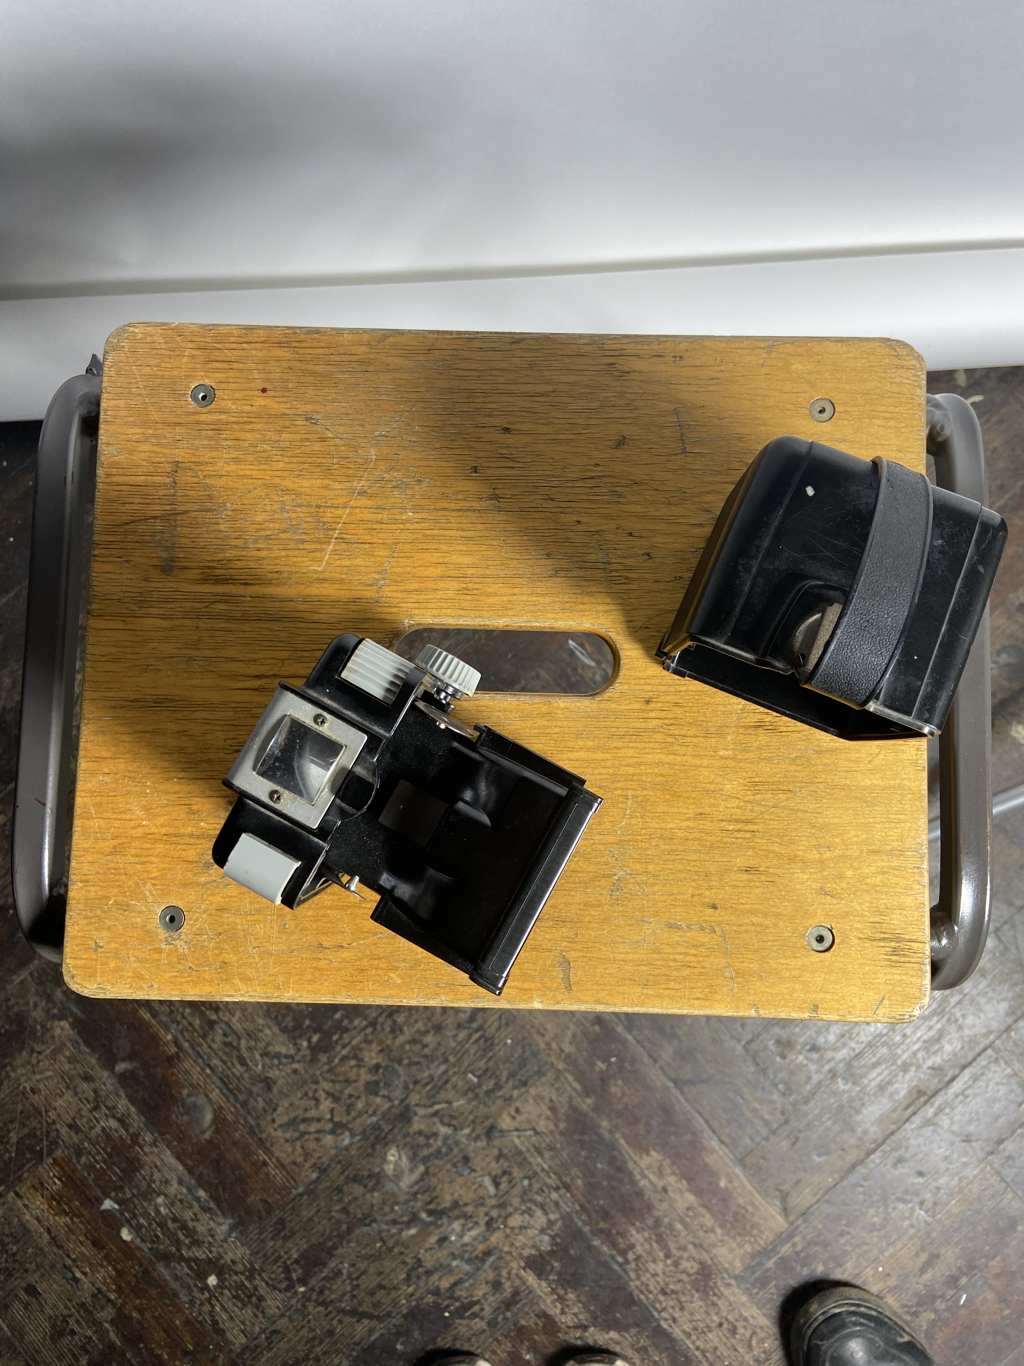
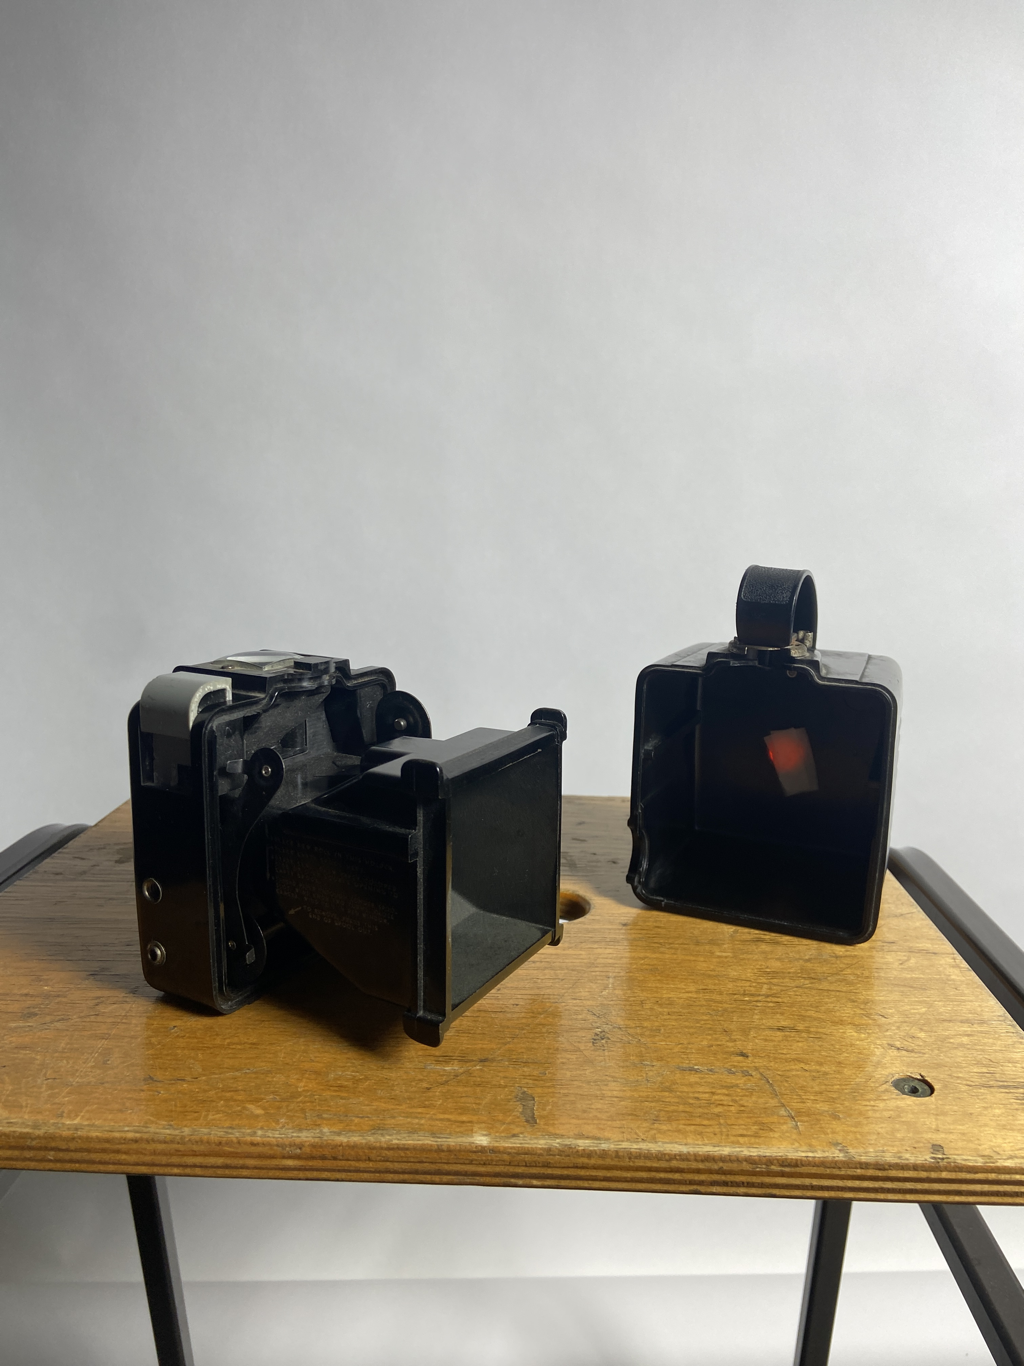
This task was more challenging as it required much more steps and a completely different way of trying to replicate Valerie Kabis's work. First we loaded the old camera with photographic paper and stick it to the back of the separated box. Once it was loaded in the dark room you then had to lock the camera back and main section together with a small locking mechanism on the top of the camera. Then on the side i pushed up a slider on the side of the camera to allow for manual control over the shutter as we had to have the paper exposed for about 6 seconds. Then to take the photos i placed the camera atop a tripod to steady the camera to not get any motion blur. However the camera didn't have the mechanism to actually be clamped into the tripod so i used it more as a rest for the camera. After i opened the shutter for 6 seconds i then went back to the dark room and developed the photo. Of course like all previous shoots with photographic paper it was inverted so after several shoots i took my favourite photo and created a sandwich print exposing it for about 2.5 seconds. One mistake i made however was not letting the printed photo develop long enough and as a result the final product had a couple of markings a some what washy finish.
The Camera used:
|
|
All Photos

Final product

|

|
Documentary portrait
George Town - Lewis Khan
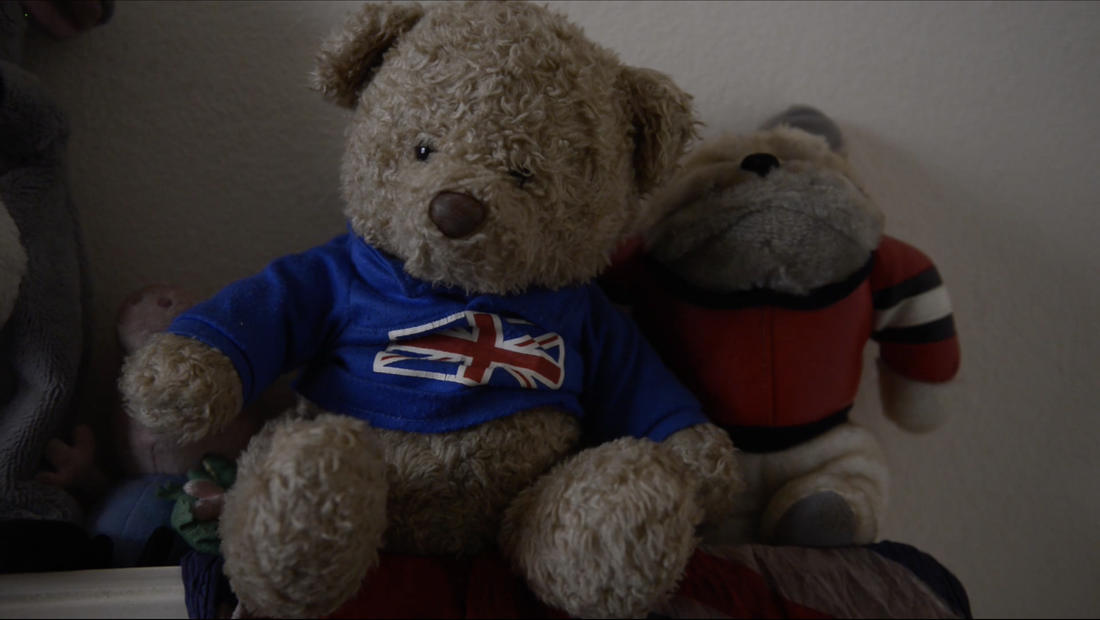
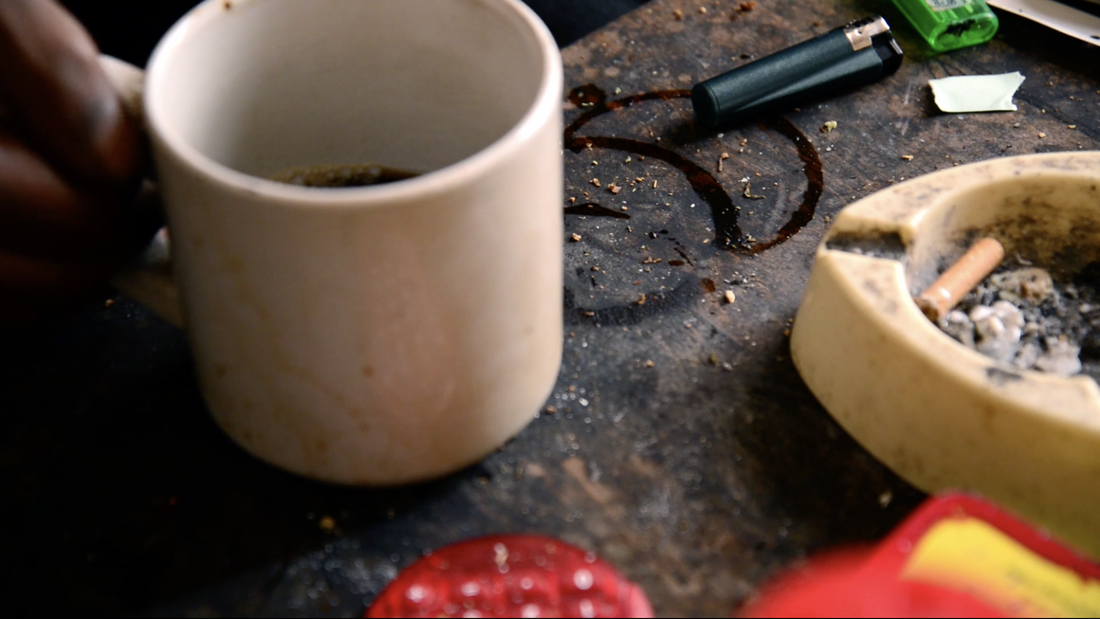
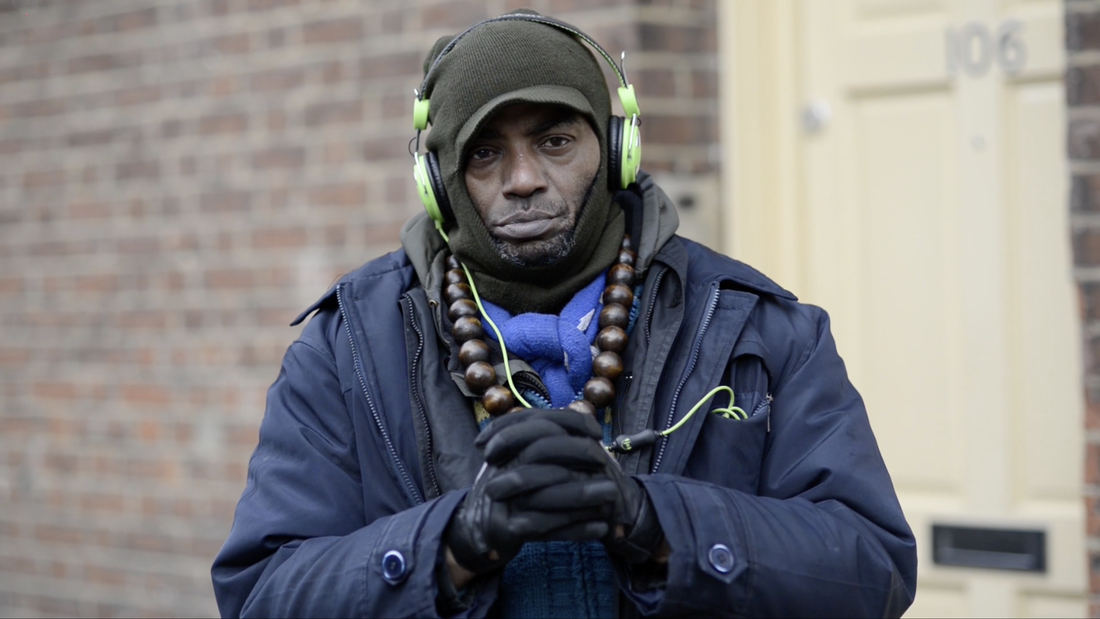
A powerful short documentary about a man living with mental health problems and living alone displayed his character and personality through photographing his daily life. His furniture and possessions displayed a specific lifestyle and as a result showed an in depth understanding into his world view. I tried to replicate this with teachers at my school and my parents. Lewis Khan got interesting perspectives and angles of photos that you wouldn't really think of. As a result it was an interesting task to try and replicate his work whilst also adding my own touches.
|
|
|
|
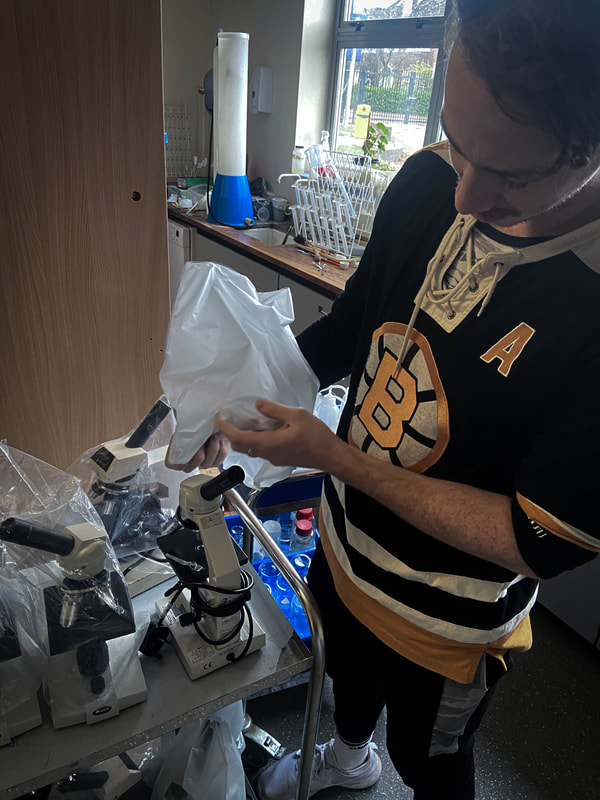
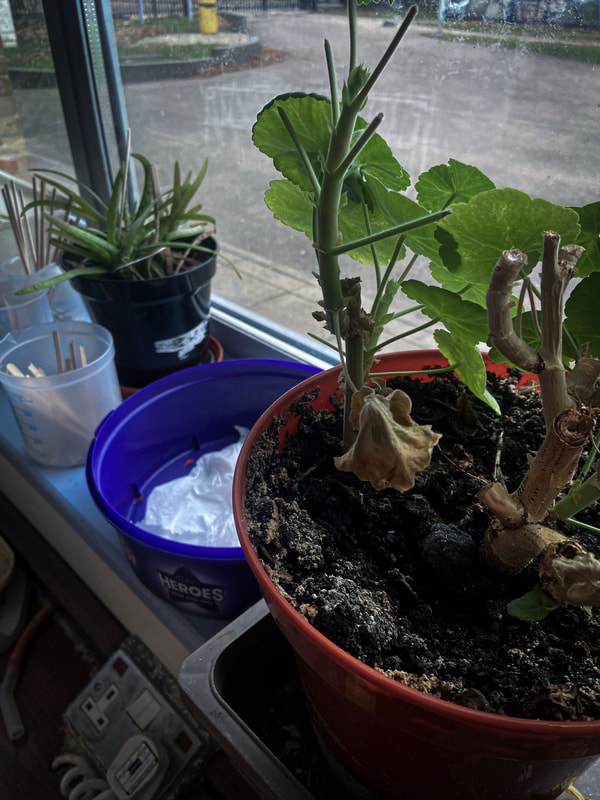
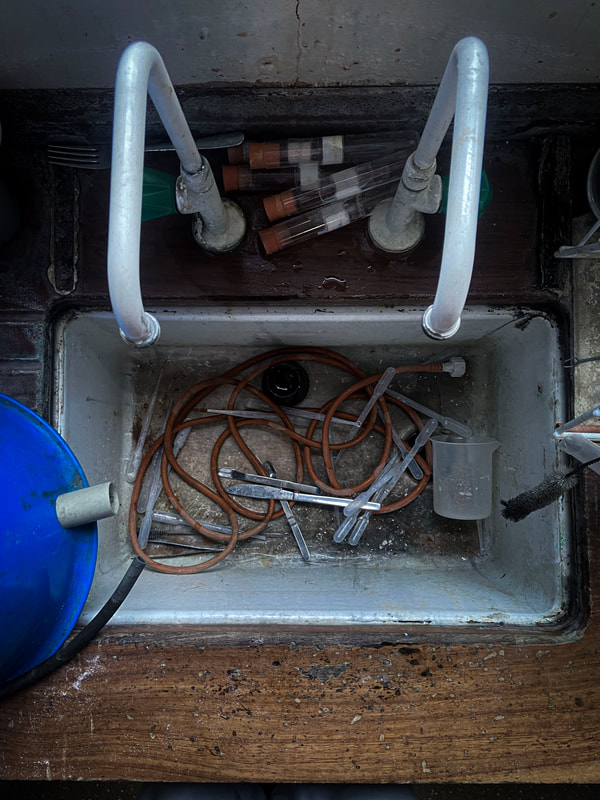
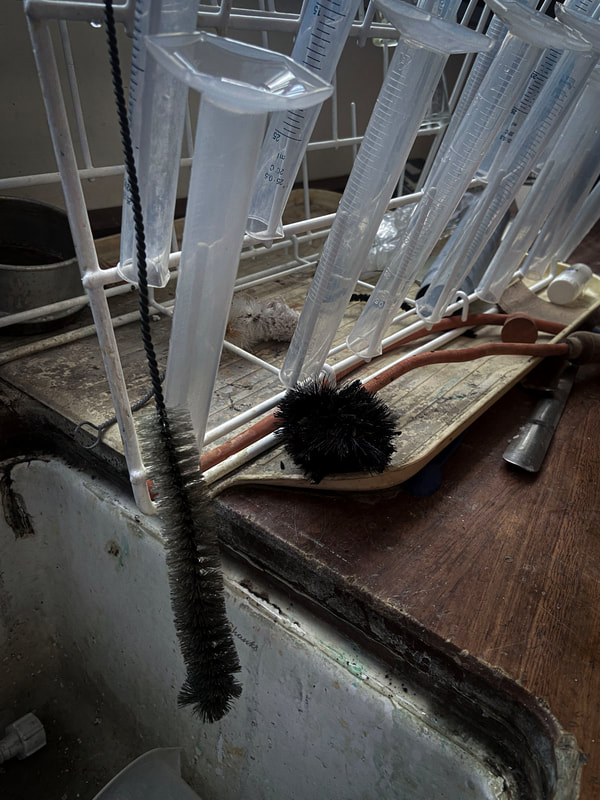
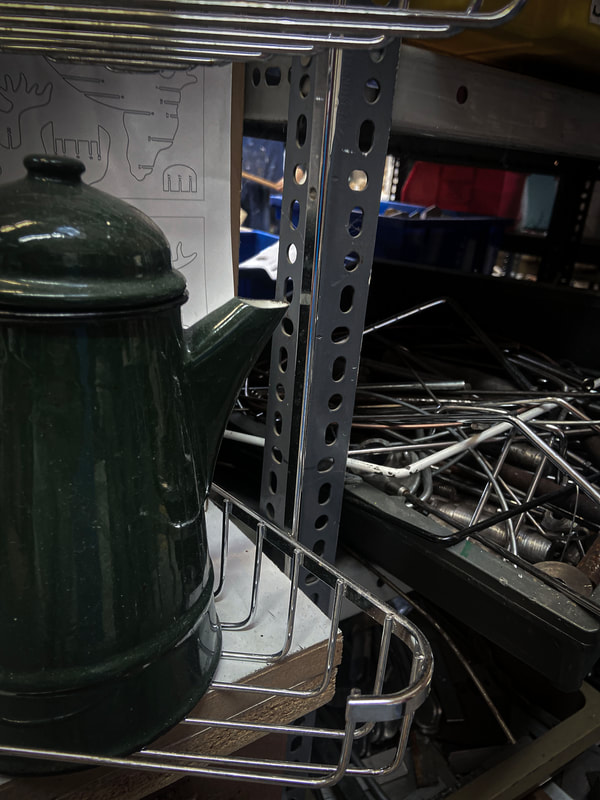
The Science Technician
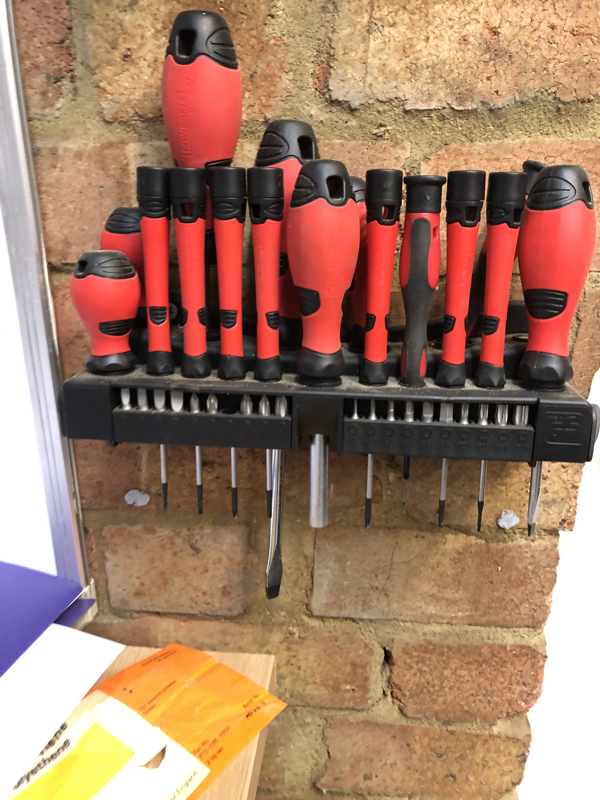
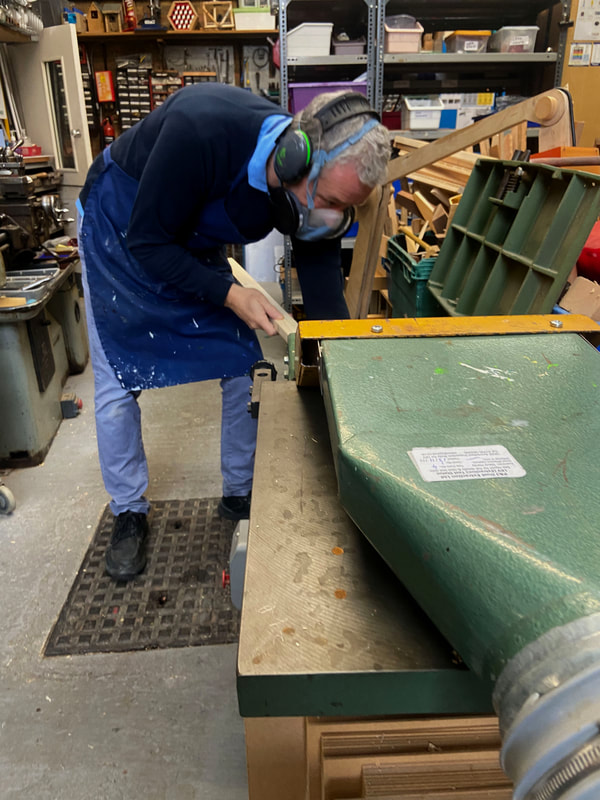
I tried to capture The science technicians surrounding to hold the essence of his environment. There where several peculiar objects in his work space and as a result I then got lots of cool perspectives and compositions on different objects like sink perspective and the technician himself.


|
|
|
|
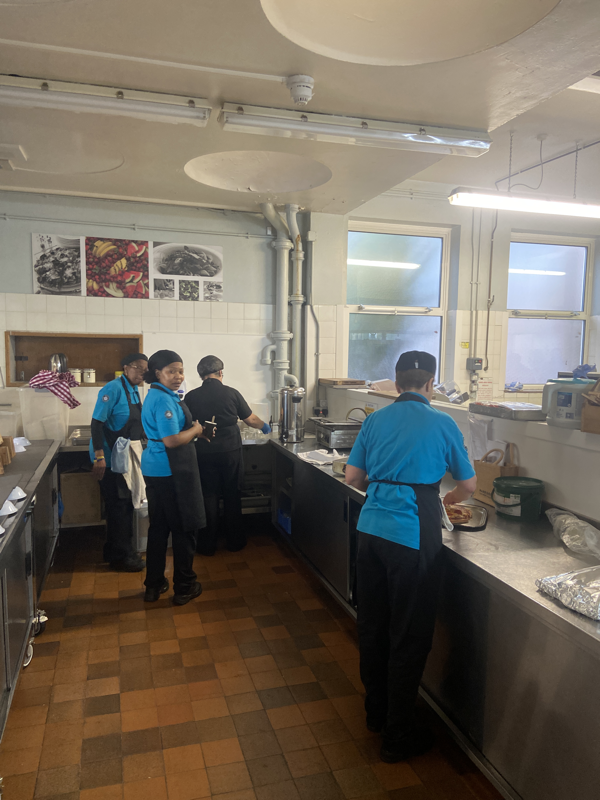
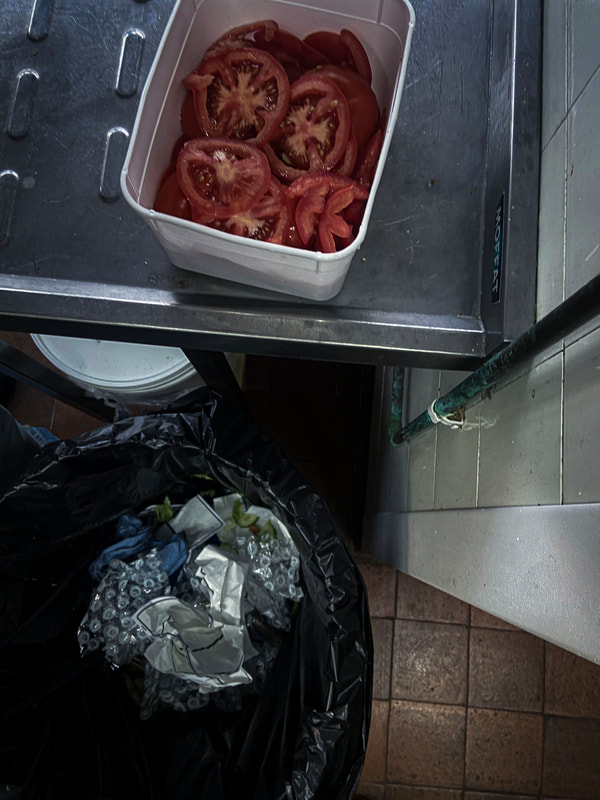
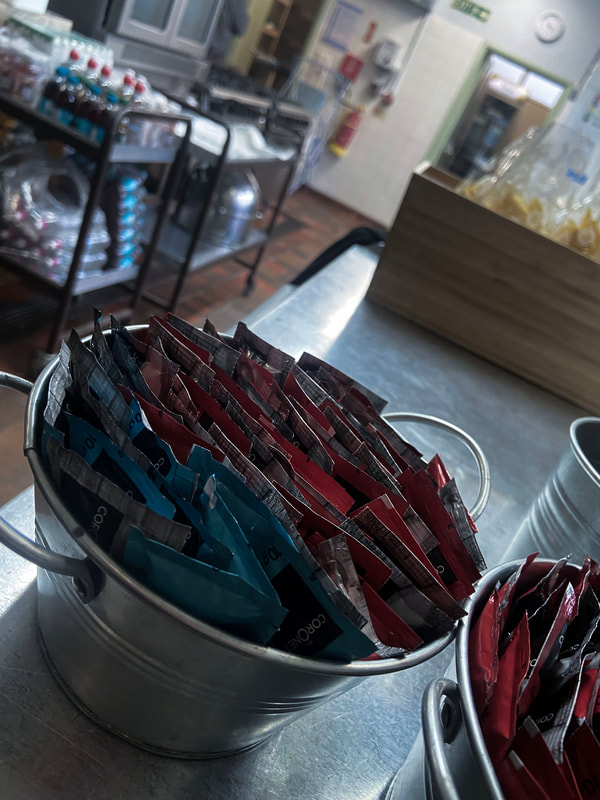
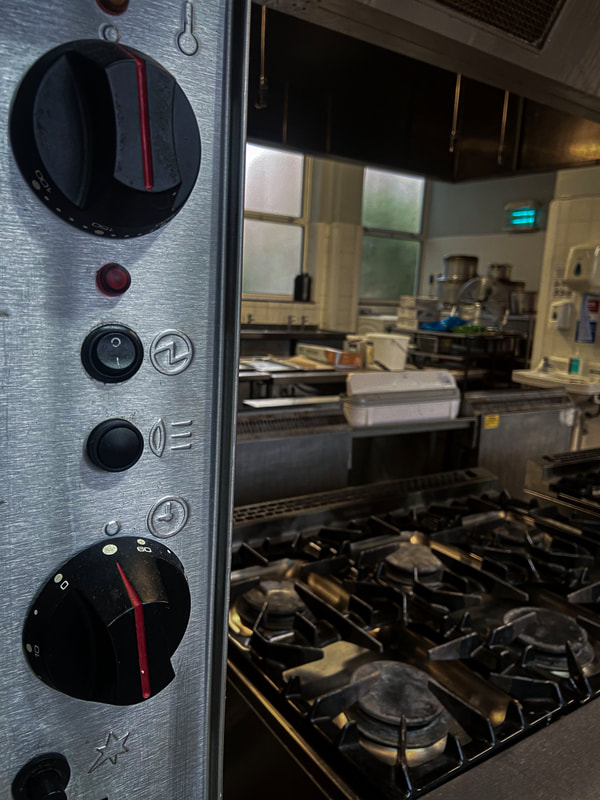
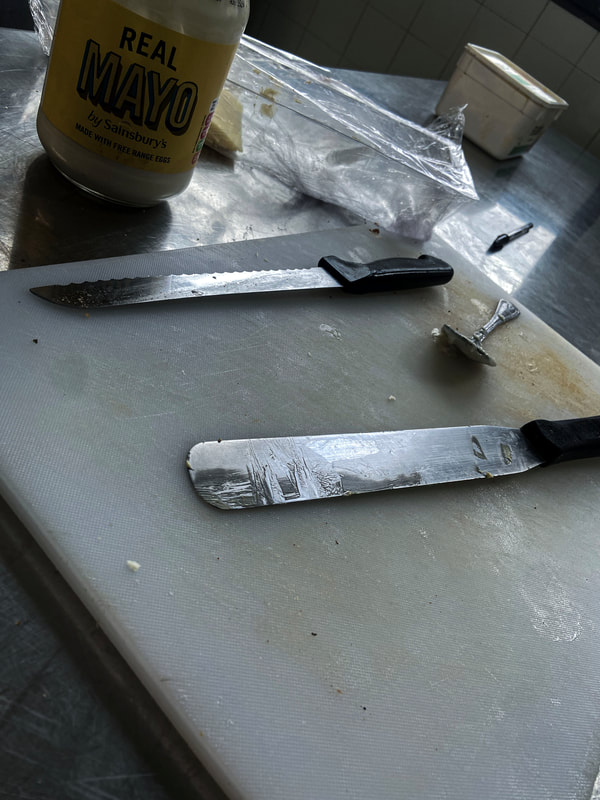
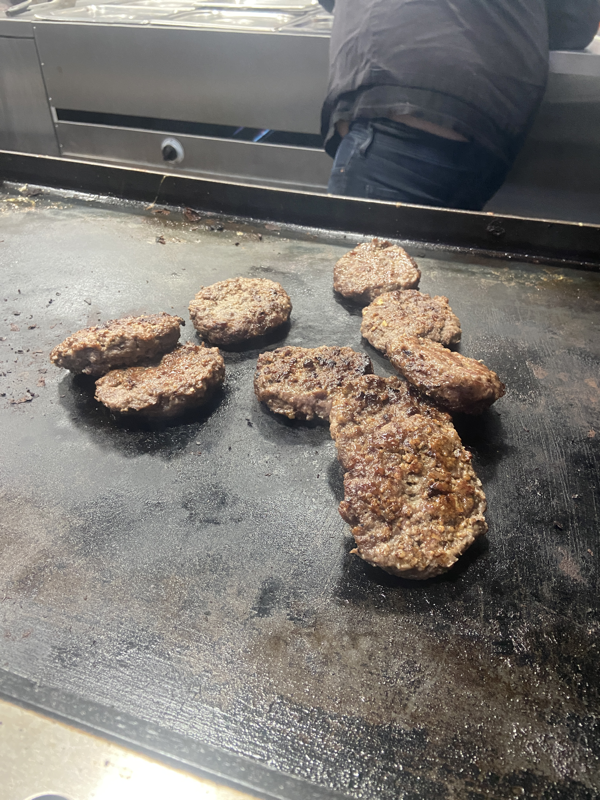
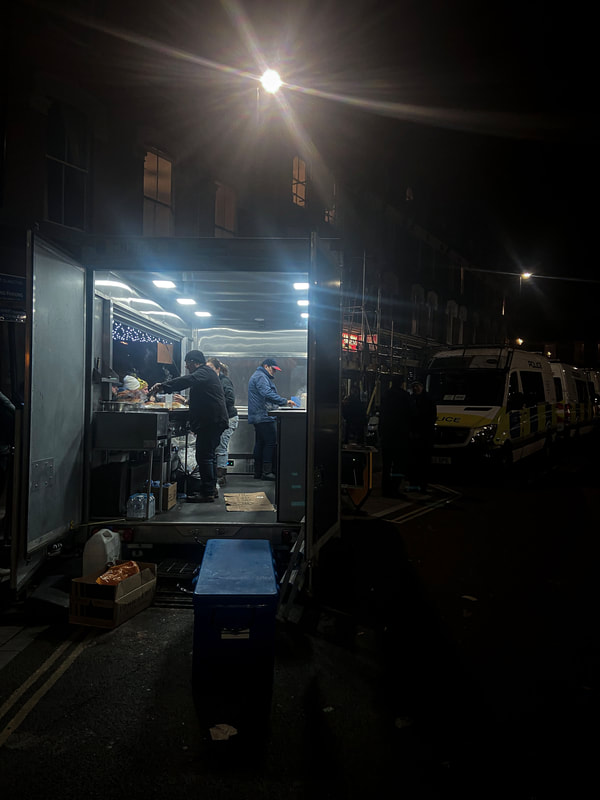
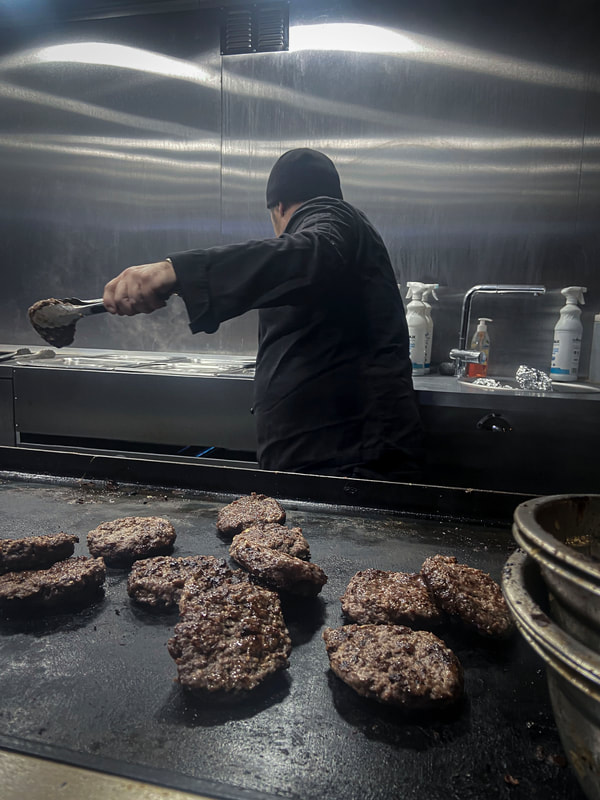
The Chef's
This was an interesting shoot as I never had been in this area so it was cool to take in the environment whilst also capturing different angles and perspectives of their environment. Since there where so many cool shapes and the setting was so broad and supplied me with plenty of opportunity to capture the person in the environment.


|
|
|
|
The DT Technician
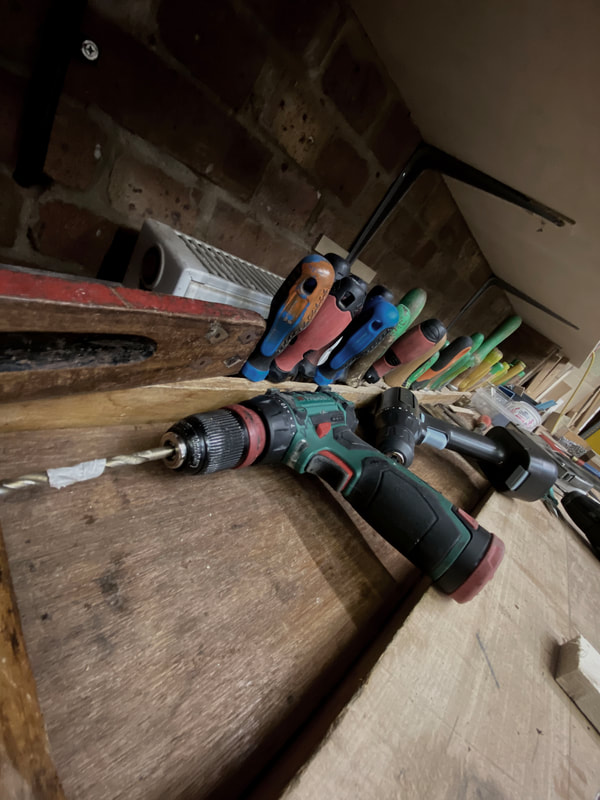
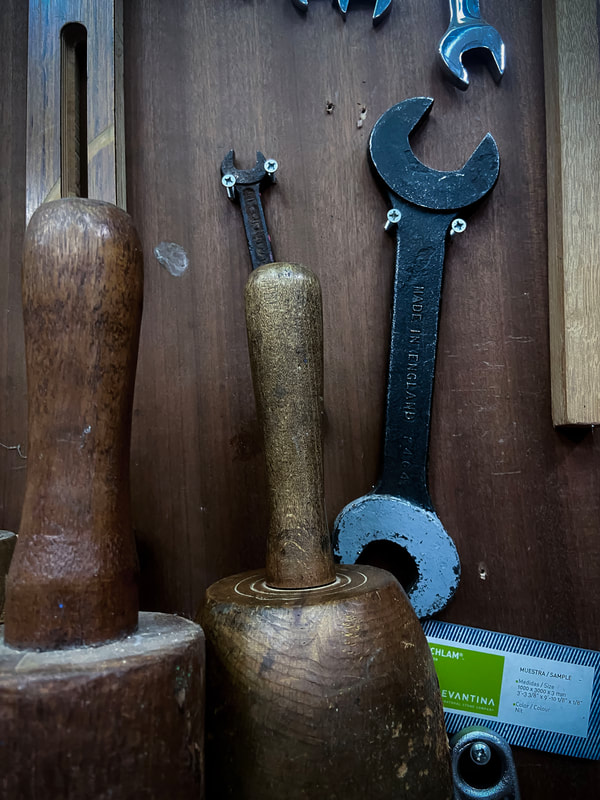
This setting I was most familiar with so when it came to capture cool intricate perspectives I knew where to go. Also getting nice leading line compositions as the environment led me to subconsciously capture them and so some abstract photos came out in the end product.


|
|
|
|
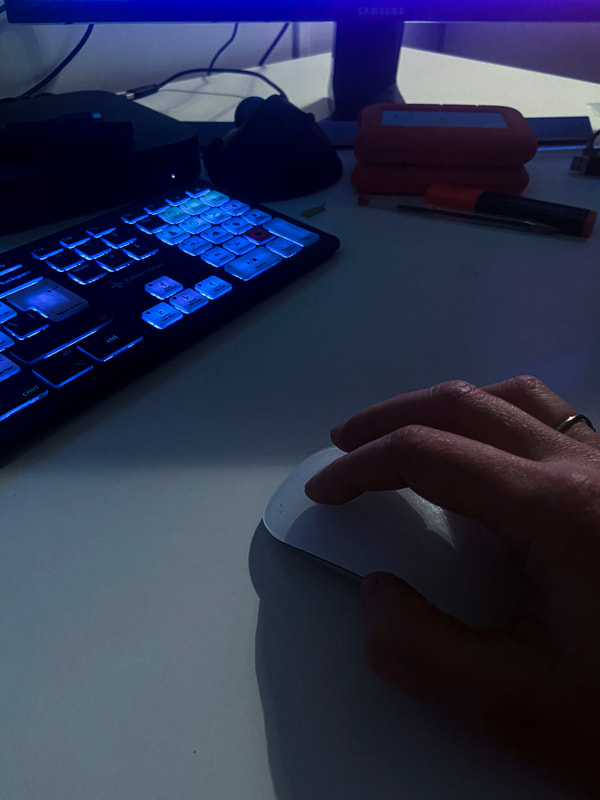
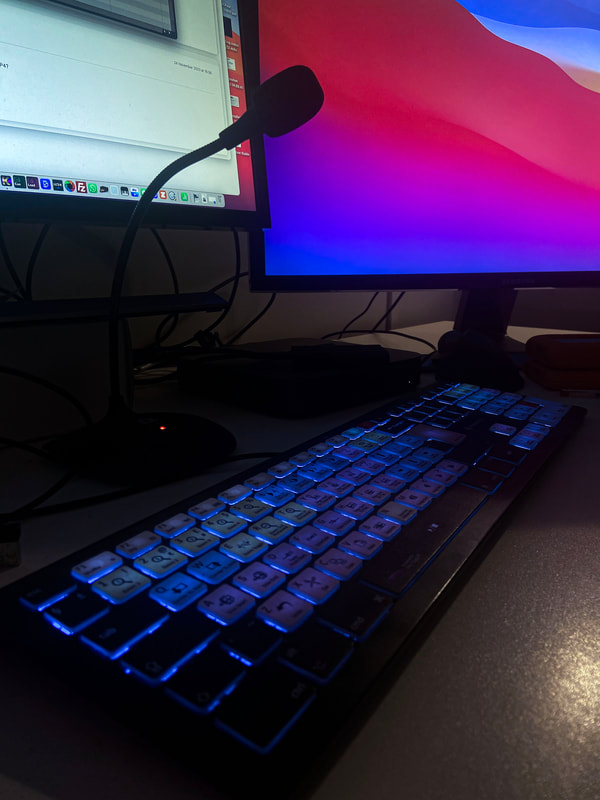
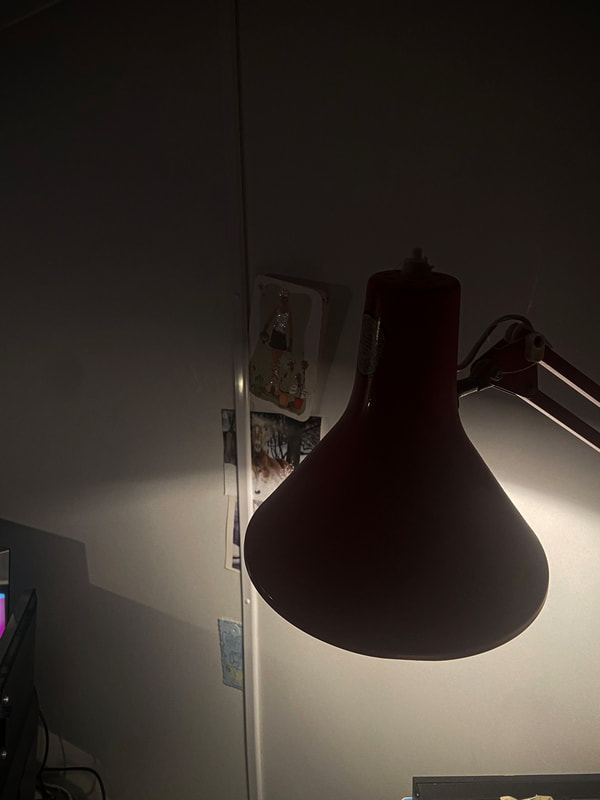
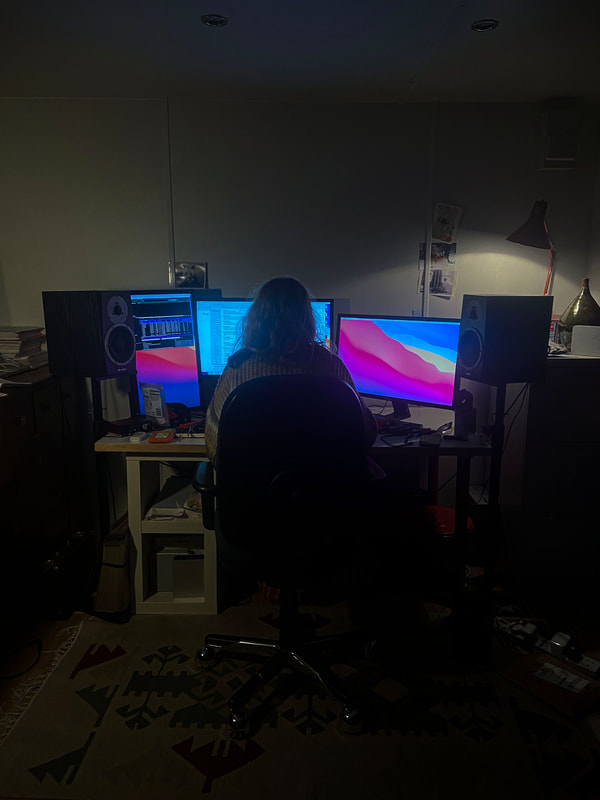
The sound Engineer
I did this final shoot at home of my mums work space. I thought it would be a good idea to just let her do her work and I would just move around her capturing different monitors different perspectives and cool patterns and shapes that emerged themselves.


|
|
|
|
|
|
Me and the Artist

|

I think the inspiration of Lewis Khan really presented its self when I went into photoshop. Lowering the saturation and increasing the blues in the photos really enhanced them and created the style I think Lewis Khan was going for. also the composition of the photo where it portrays what you want the observer to see but also crops curtain properties to leave a bit of a personal and rustic feel.
|
Extension


|
|
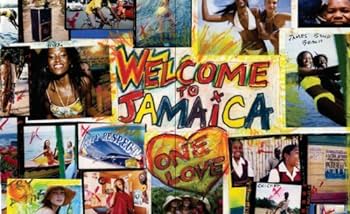
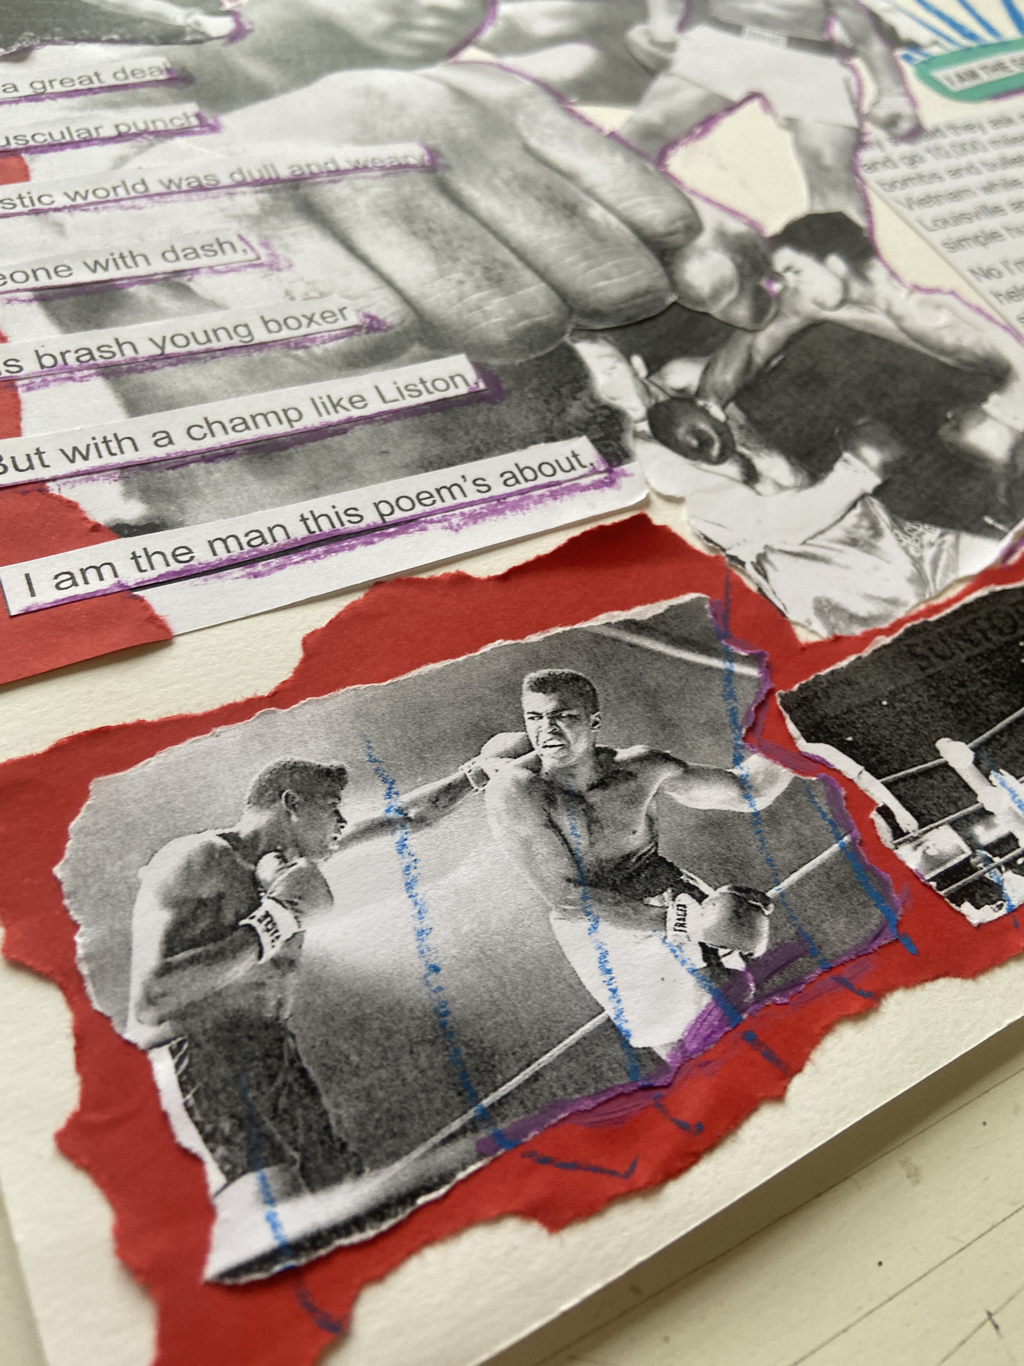
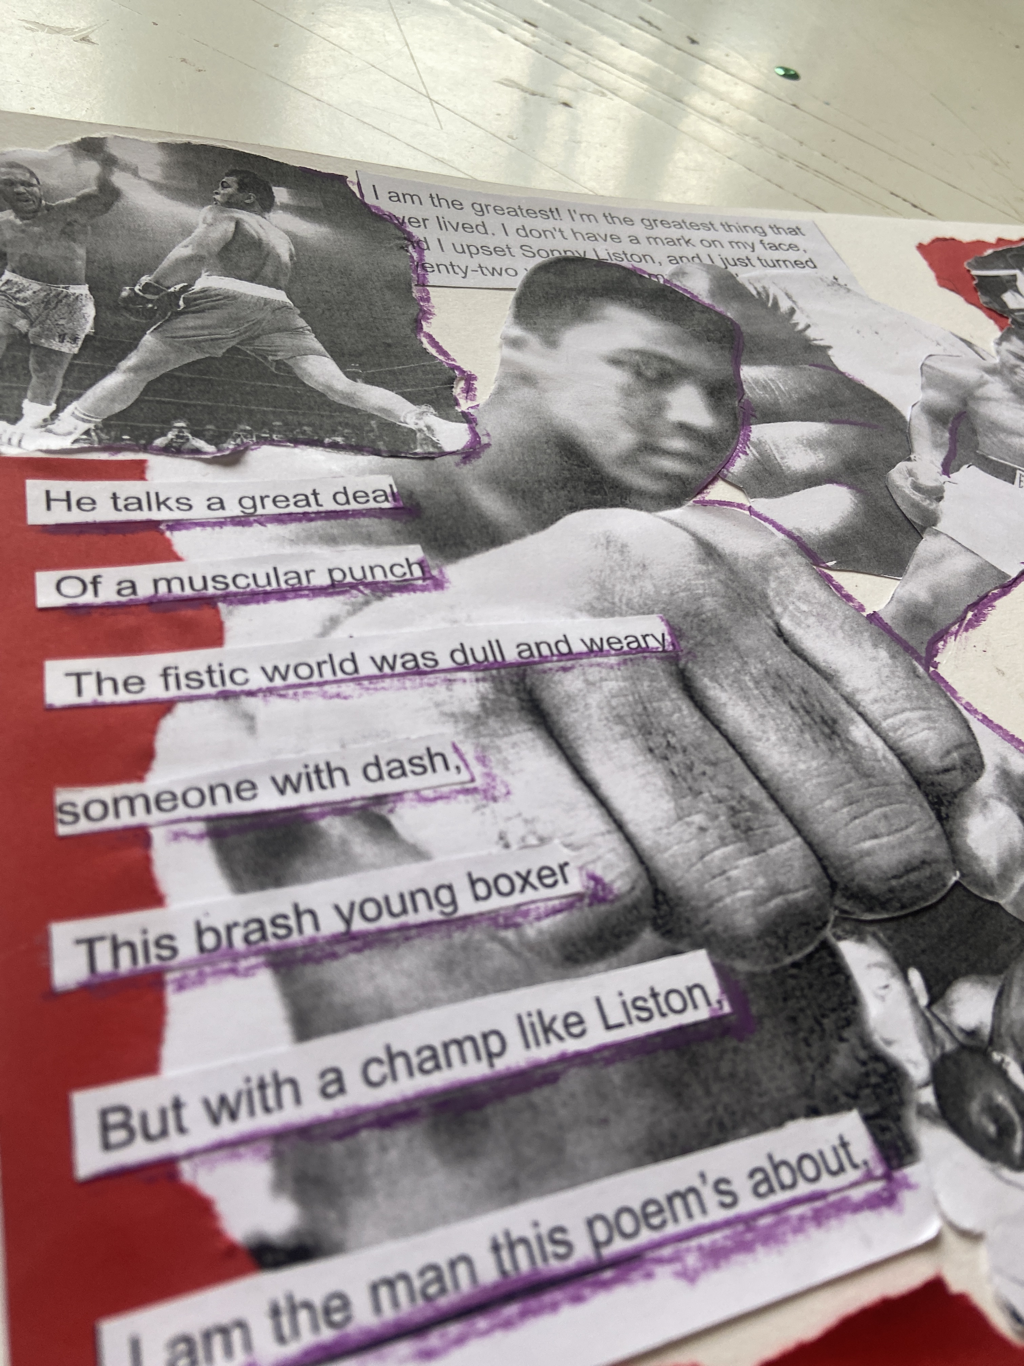
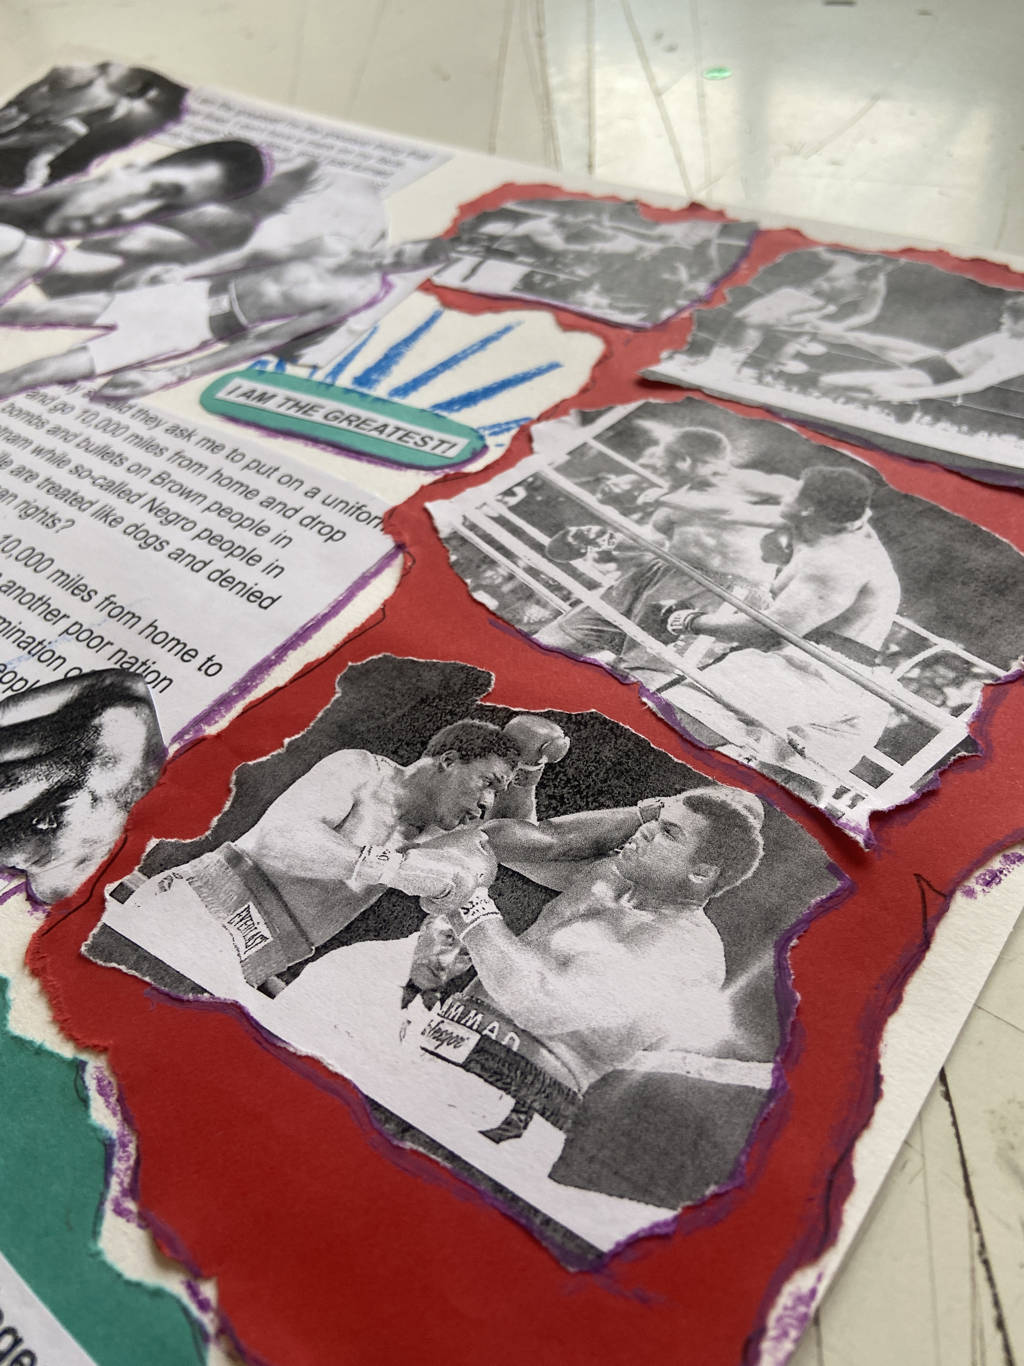
The Big Up Portrait
Ben Watts

|

|
|
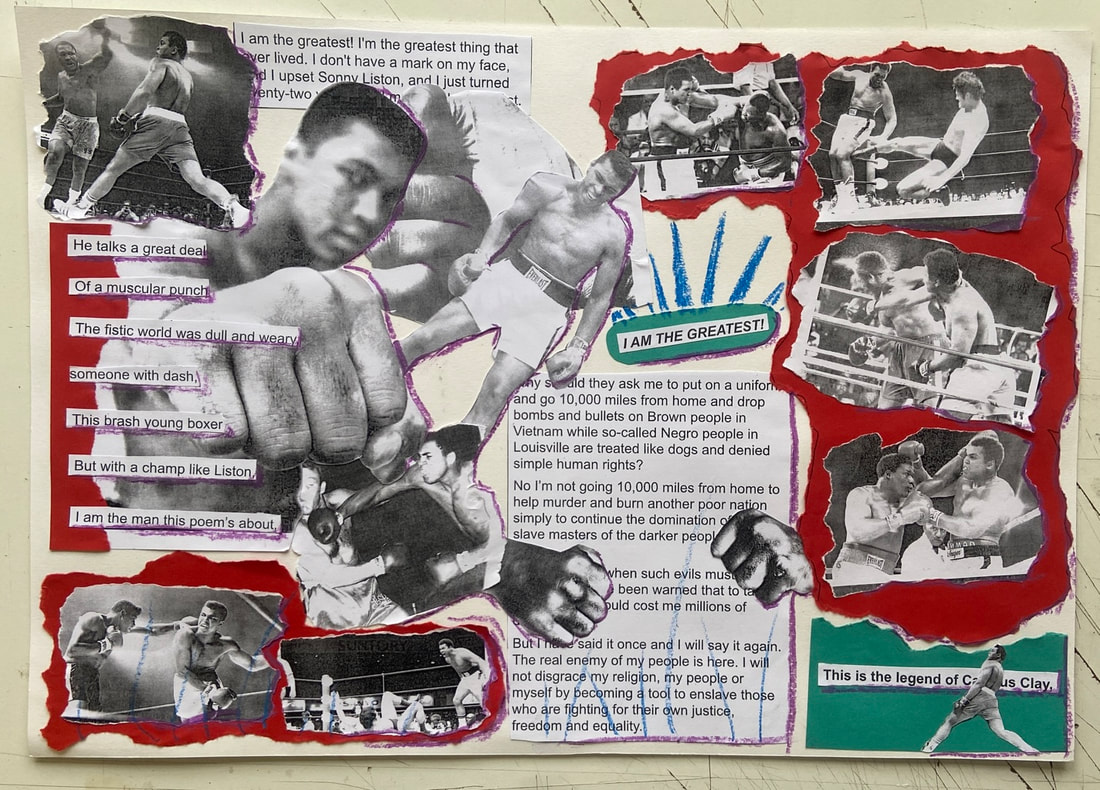
Big Up showcases a remarkable compilation of portraits capturing a diverse range of individuals, including rappers, actors, boxers, dancers, skateboarders, children, and various street characters. Originating in 1990 when London-born photographer Ben Watts arrived in New York from the Sydney College of Arts, this collection evolved from his fascination with the faces and dynamic energy of the city's urban youth culture. Initially conceived as a series of personal snapshots, the book developed over more than a decade. The photographs in Big Up are adorned with sharpie notes, tape, and other mixed media, contributing to a distinctive and stylized visual aesthetic.
|
|
|
Independent Development
Brief
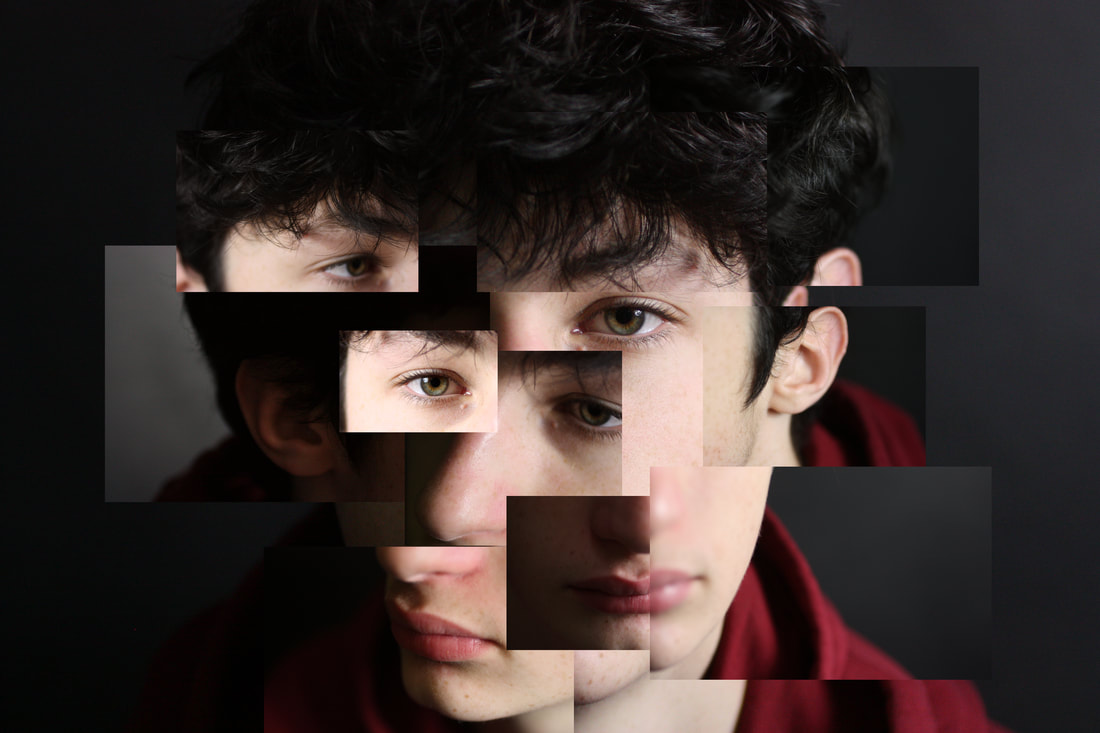
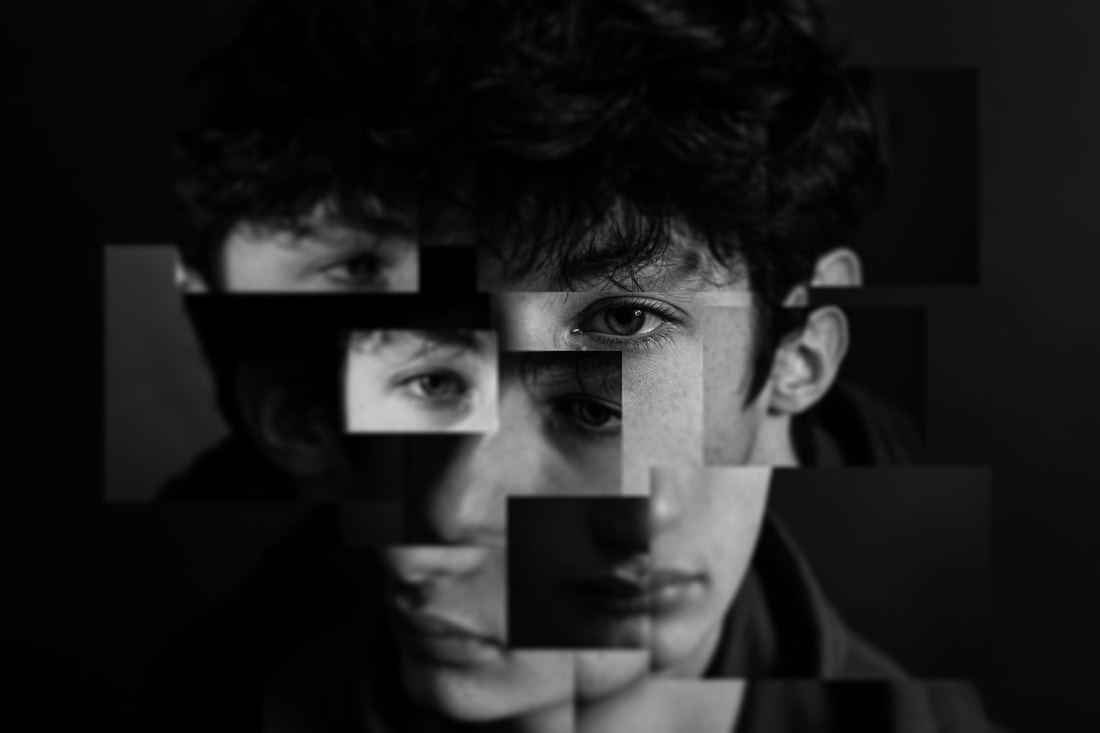
For my development on portraiture I decided to go down the influence of Myra Green's work as I thought it was a really interesting topic. To compliment her work and expand on it further I decided to also mix her style with the famous artist and photographer David Hockney and Brno Del Zou. The result of this would hopefully create a cool collage effect of Myra Greens style. Also possibly using more tan one subject per photo and also using different media to experiment with the outcomes.
David Hockney
David Hockney is connected to the Pop art movement. This movement was interested in responding to Popular Culture
Hockney created photo joiners that consisted of photographs taken of the same object from different perspectives. The images were then collaged together to recreate the place, person or object even though the overall appearance may look distorted. This work connects with the Cubist movement, one of Hockney's major aims. Hockney would cleverly compose patchwork of photos and call it 'joiners'. Hockney's connection to cubism was after he had completed one of his photo joiners he said he owed much to cubism and said he found it to be 'turn on'.
Hockney created photo joiners that consisted of photographs taken of the same object from different perspectives. The images were then collaged together to recreate the place, person or object even though the overall appearance may look distorted. This work connects with the Cubist movement, one of Hockney's major aims. Hockney would cleverly compose patchwork of photos and call it 'joiners'. Hockney's connection to cubism was after he had completed one of his photo joiners he said he owed much to cubism and said he found it to be 'turn on'.


Brno Del Zou
Brno del Zou is a French artist/photographer born in 1963. In his "photo sculptures" series, Brno del Zou uses the fragmentation of the body in order to better understand it. Brno del Zou layers various cropped photographs of the face taken from various angles to create a distorted overall portrait.


First shoot